Popular

- Manage License (Add on)
- Bulk Revoke
- Generating Access Code
- Direct Distribution (Add On)
- Creating Single User or Multiple Users (Bulk Upload)
- Admin Center and Profile and Settings
- Revoking Content
- Distributing Content
- Signing in to Kitaboo
- Promote User/Transfer
- Create Class/Update Class
- Selective Oneroster Sync with API/ZIP/SFTP

- Customer Order Details -View Order
- License Management
- Analytics Dashboard and Reports Overview
- How Kitaboo Reader – Text-to-Speech (TTS) Works
- Activated User – Definition & Billing Policy
- What is Sequential Learning and How to Enable It? (Add On)
- Understanding User Roles: Producer vs. Admin
- How to Add External LTI Link (Add-On)
- Auto Book Deletion Process
- Adding group with SAML
- Syncing Data with Clever
- Selective Oneroster Sync with API/ZIP/SFTP
- Syncing Data with PowerSchool
- Syncing Data with OneRoster
- Adding a Group
- Searching a Customer
- Issuing Licenses
- Editing a Customer
- Deactivating a Customer
- Adding a Google Classroom Customer
- Adding a OneRoster Customer
- Adding One roster 1.2
- Adding a LTI 1.3 Customer with OneRoster
- Adding a LTI 1.3 Customer
- Adding an LTI 1.1 Customer with OneRoster
- Adding LTI 1.1 Customers
- Sorting Customer and Group
- Creating a Collection
- Enable K-AI at the content level
- Content Lifecycle Stages in Kitaboo for eBooks
- Creating a Fixed-layout Kitaboo eBooks
- Creating Fixed-layout ePub 3.0
- Upload 3rd Party ePub 2.0/3.0
- Creating a Course or Uploading Scorm
- Activity or Gradable Activity Creation
- Authoring an ePub
- Creating a Video Book
- Creating an Audio Book
- Updating the Cover Image
- Editing a Fixed eBook
- Deleting and Deactivating Content
- Users Tab
- How to Edit and Delete a Category
- Clever Integration
- Classlink Integration
- Canvas LTI Integration
- Admin Center
- Analytics Tab
- Adding a Customer
- Creating Admin Accounts
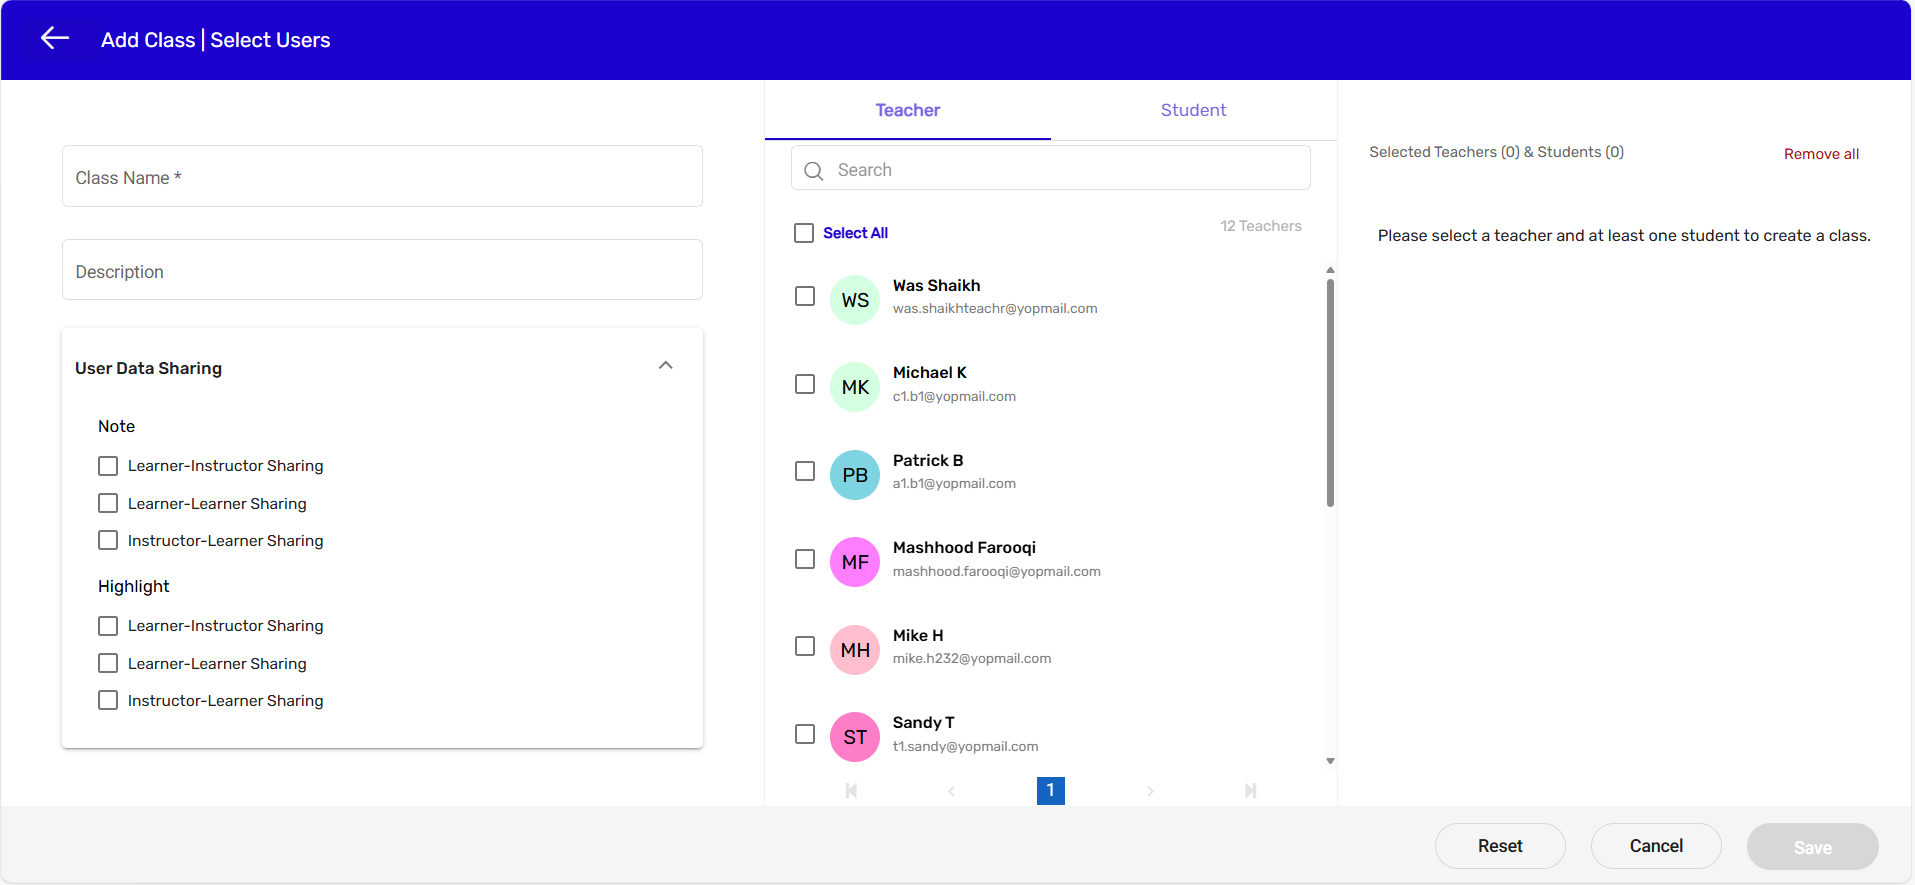
1. Create Class –
Kitaboo Studio empowers you to create a class for your users. You can create a class by
following a few simple steps.
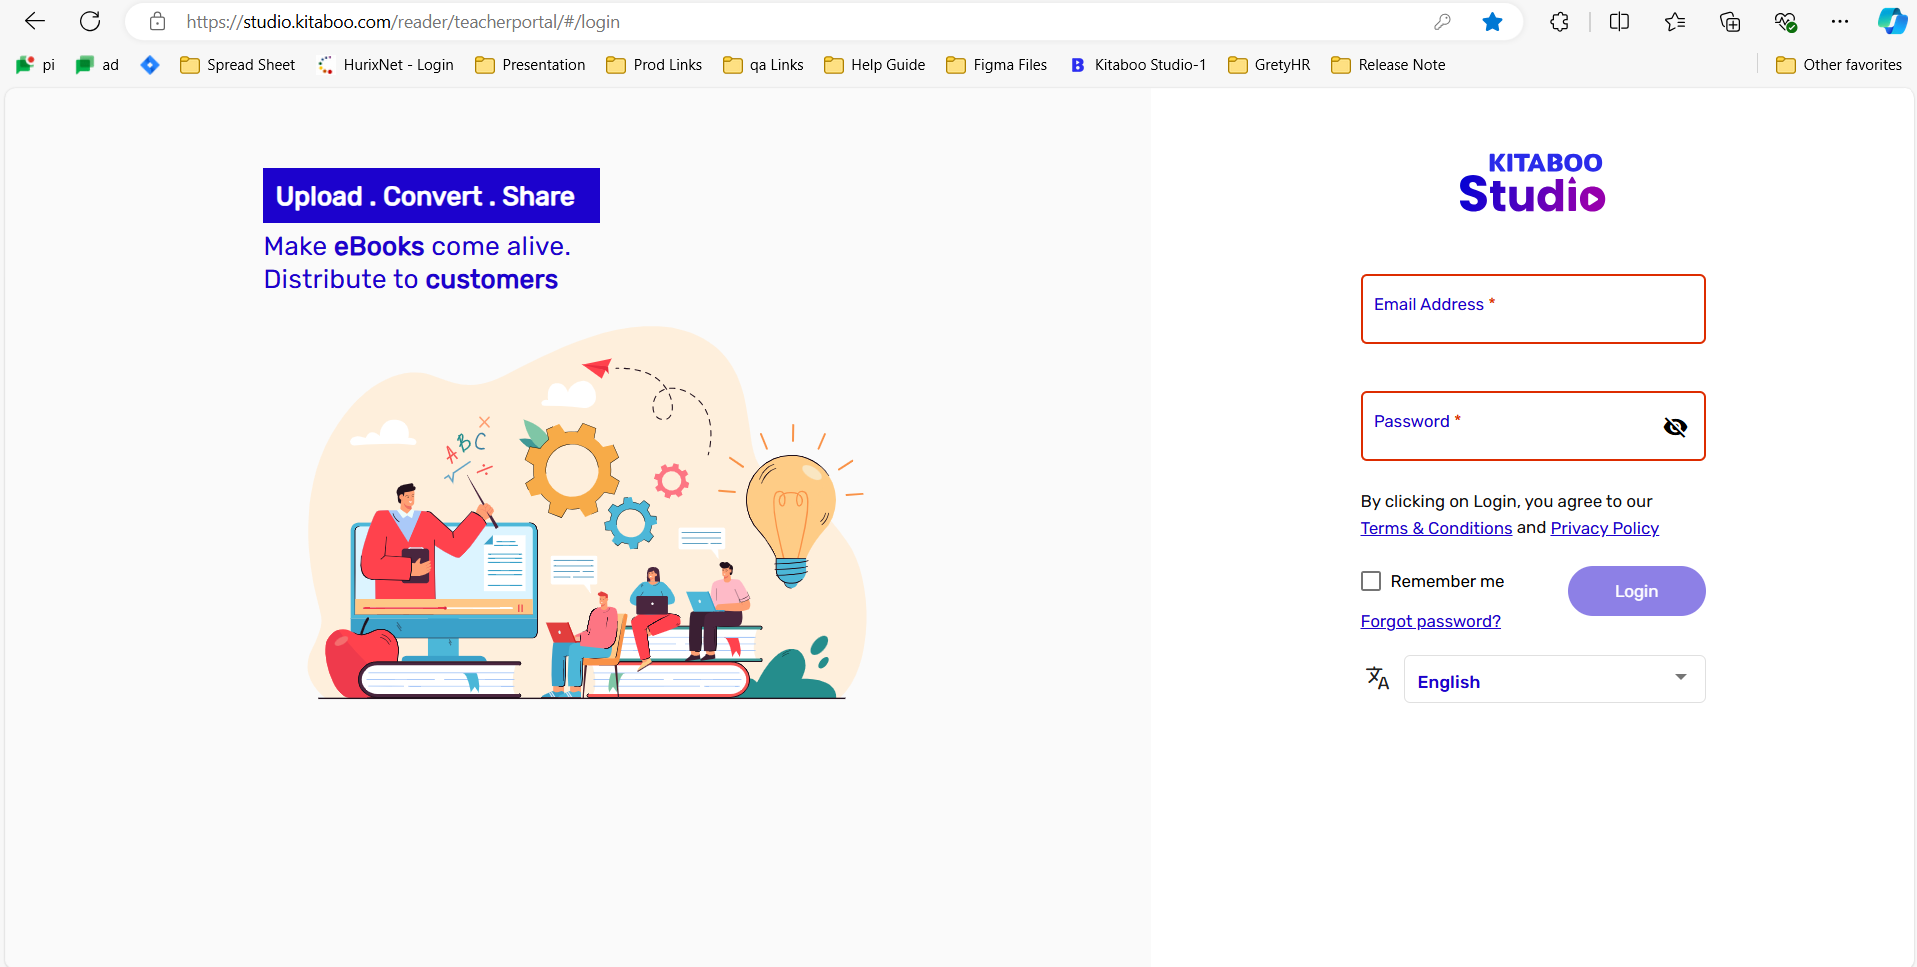
- Sign in with your Customer Admin credentials

- Switch to the Users tab, click on Class on the Users tab

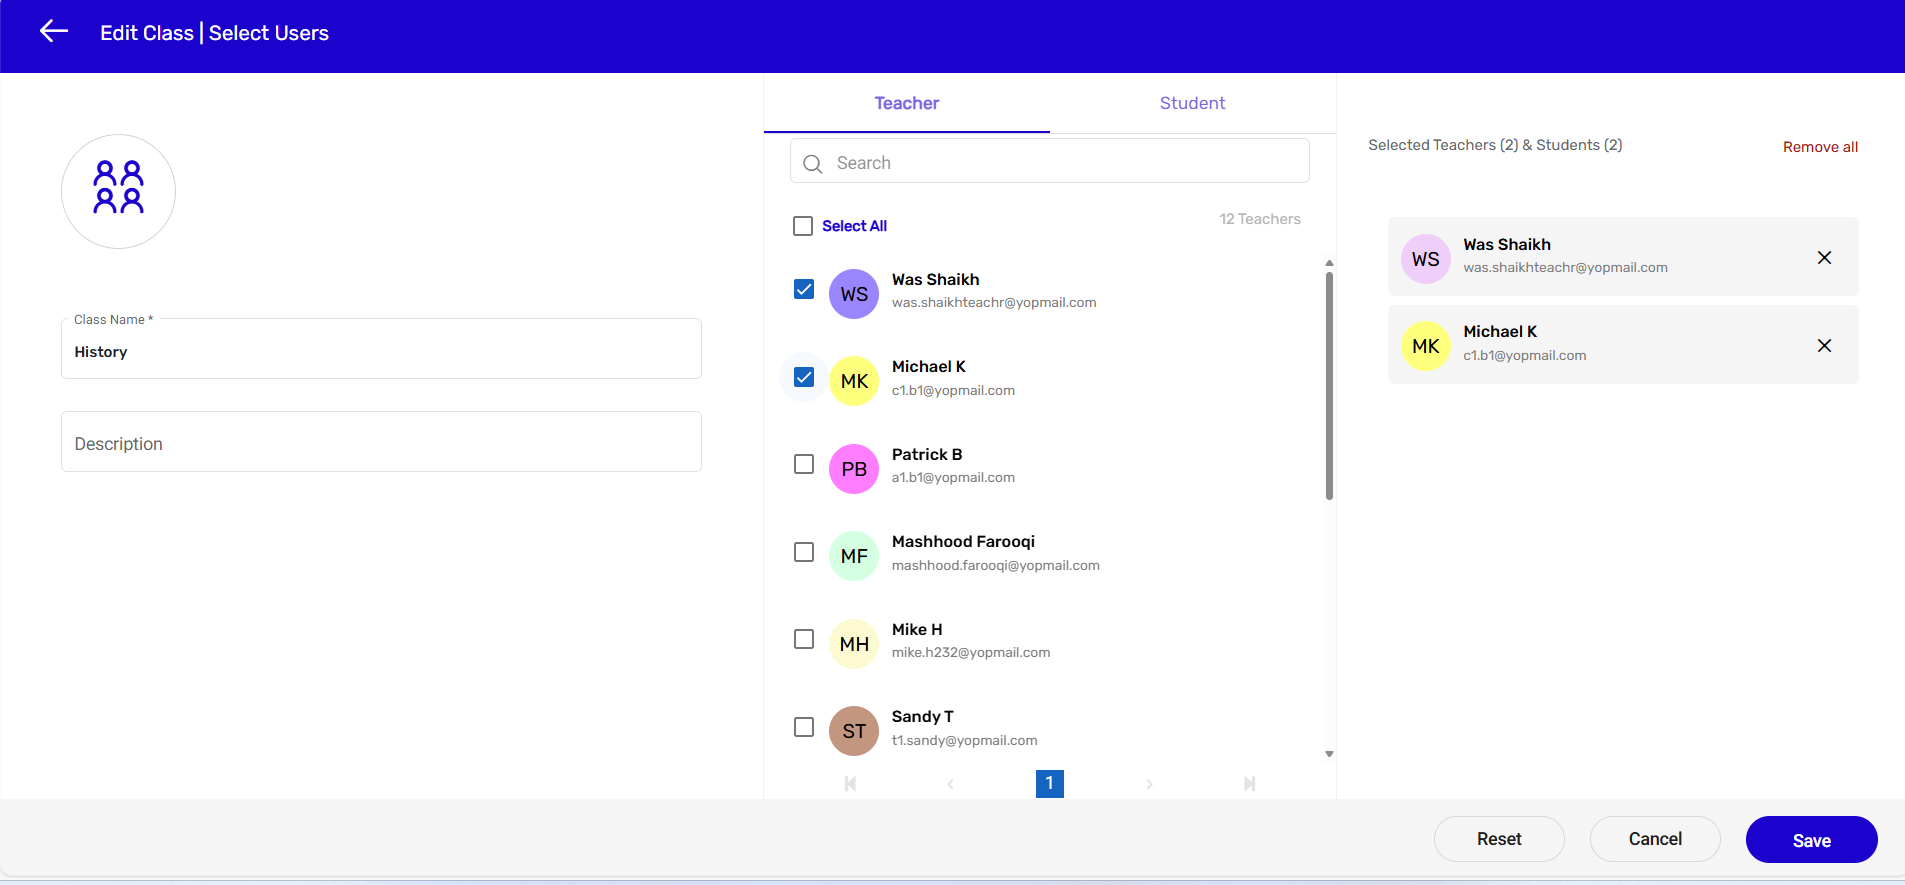
- Enter details in the Class Name and the Description fields. > Expand the User Data Sharing drop-down menu and check the set of data-sharing pairs in terms of notes-sharing and viewing of highlights. > Select Teacher(s) from the list of teachers.
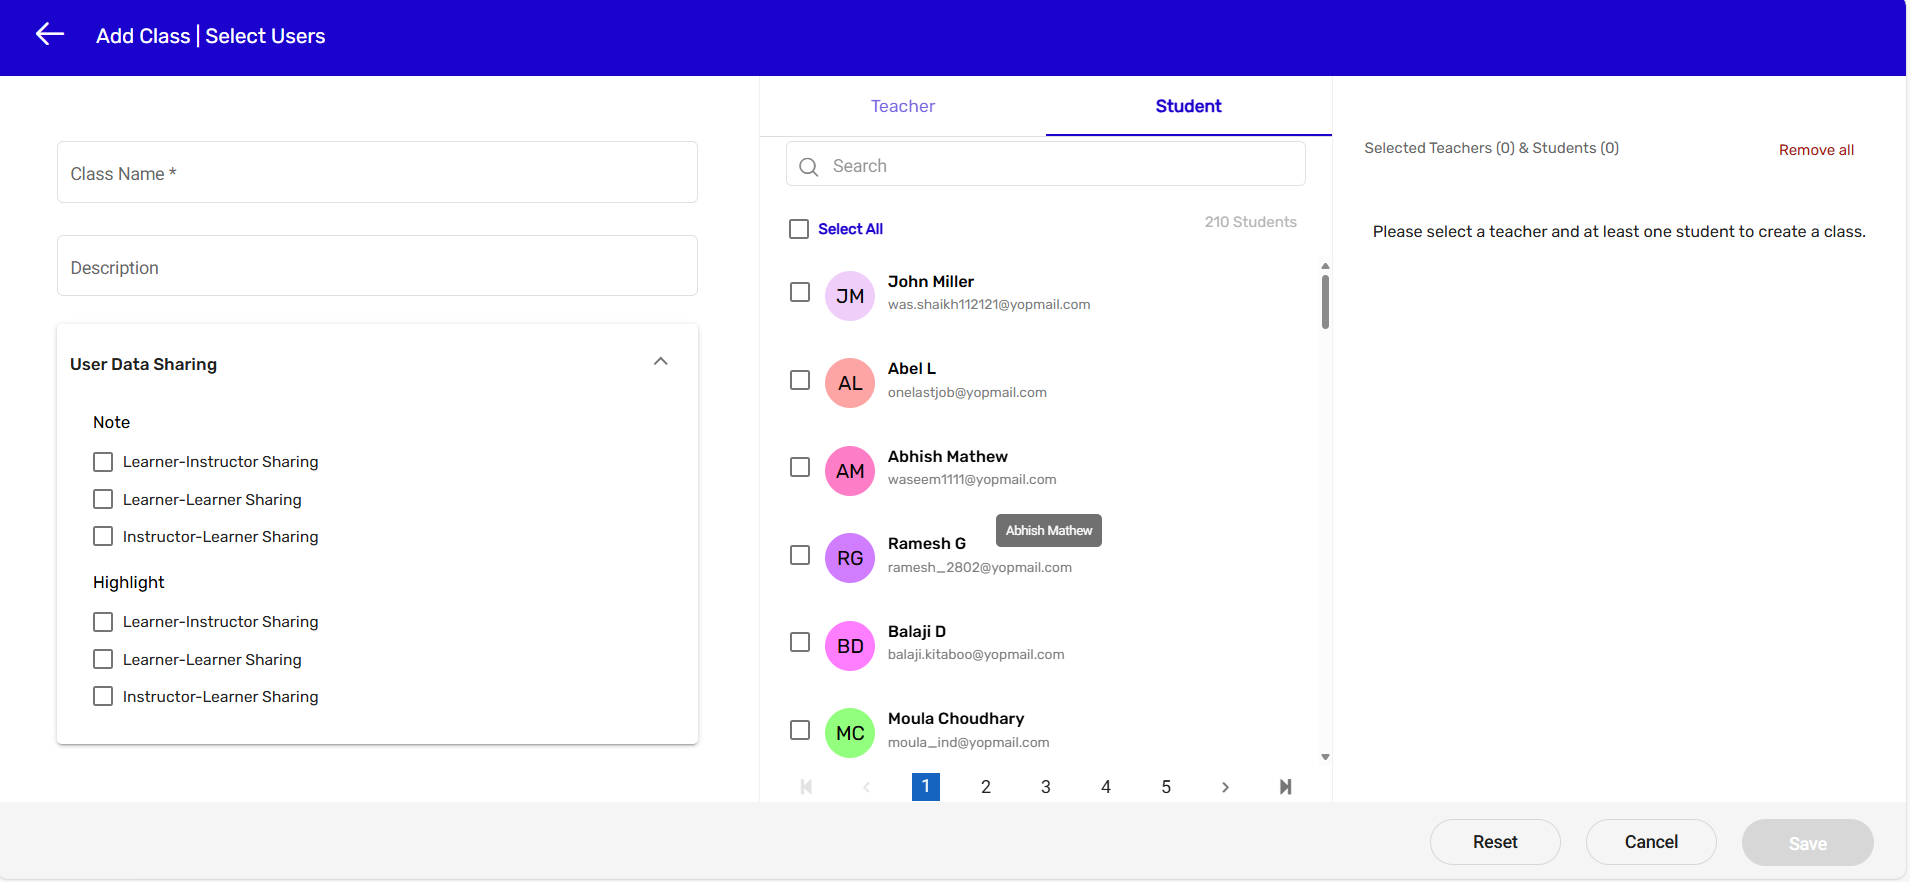
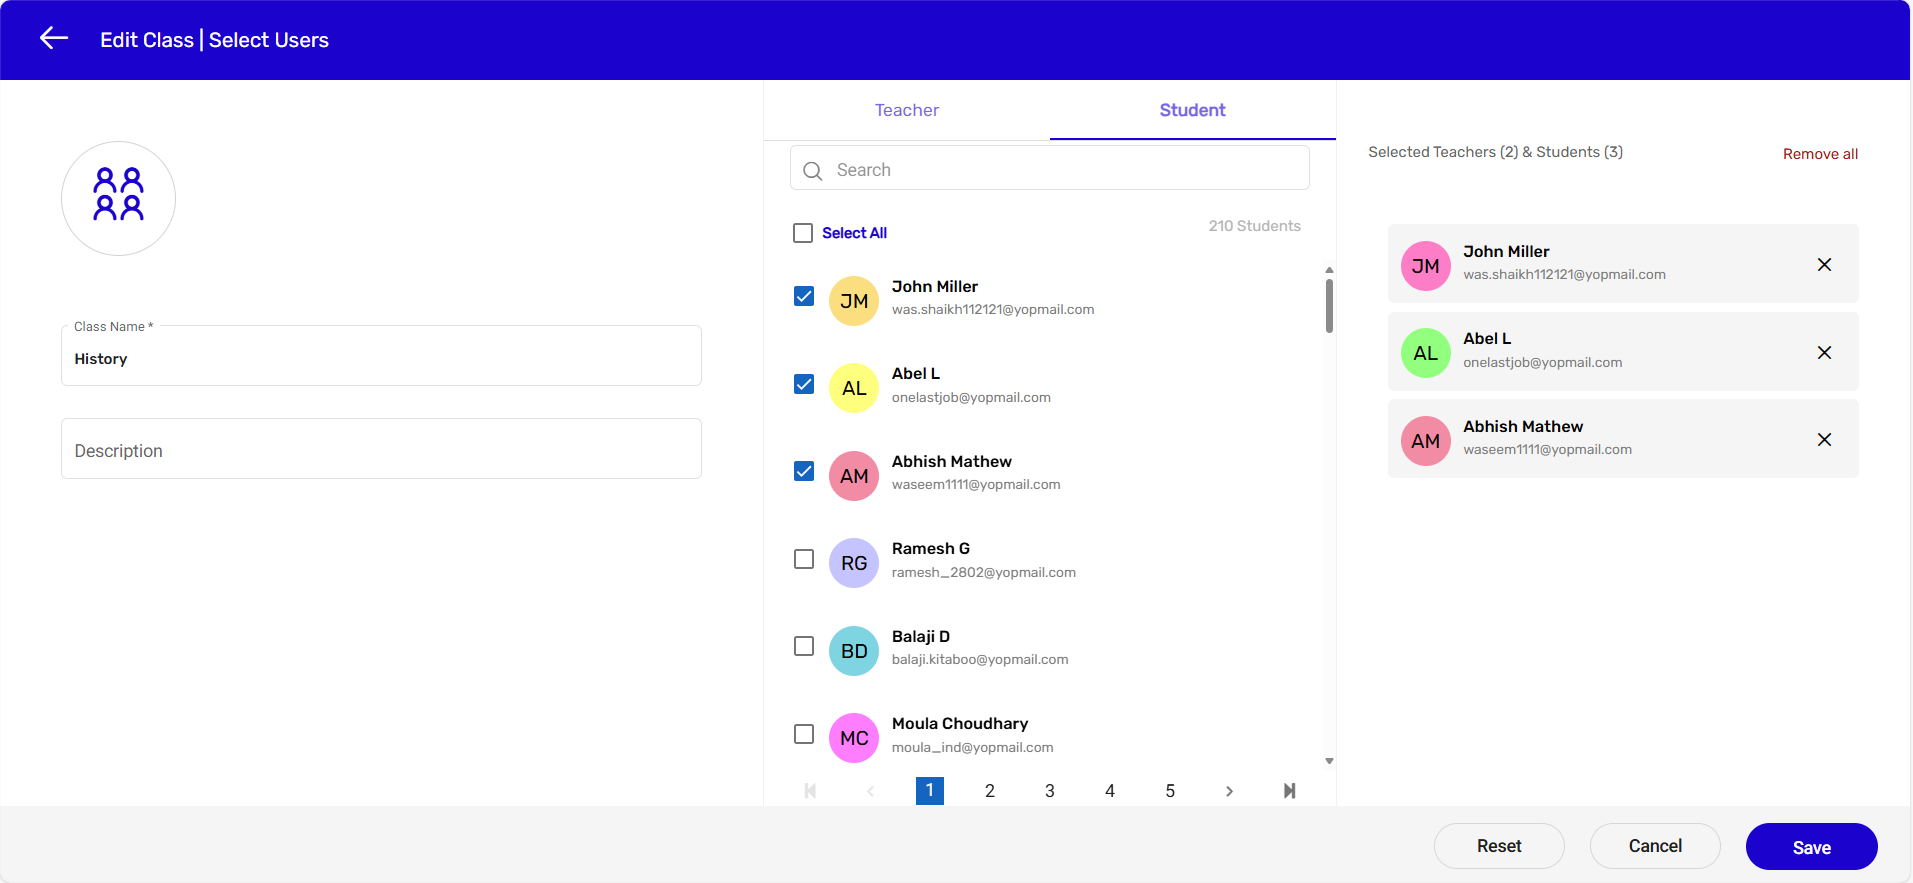
- Switch to the Student tab. > Select Student(s) from the list of students. > Click on the Save button.
NOTE:
● The Teacher tab will be the default selection.
● Minimum one teacher and one student should be selected to create a class
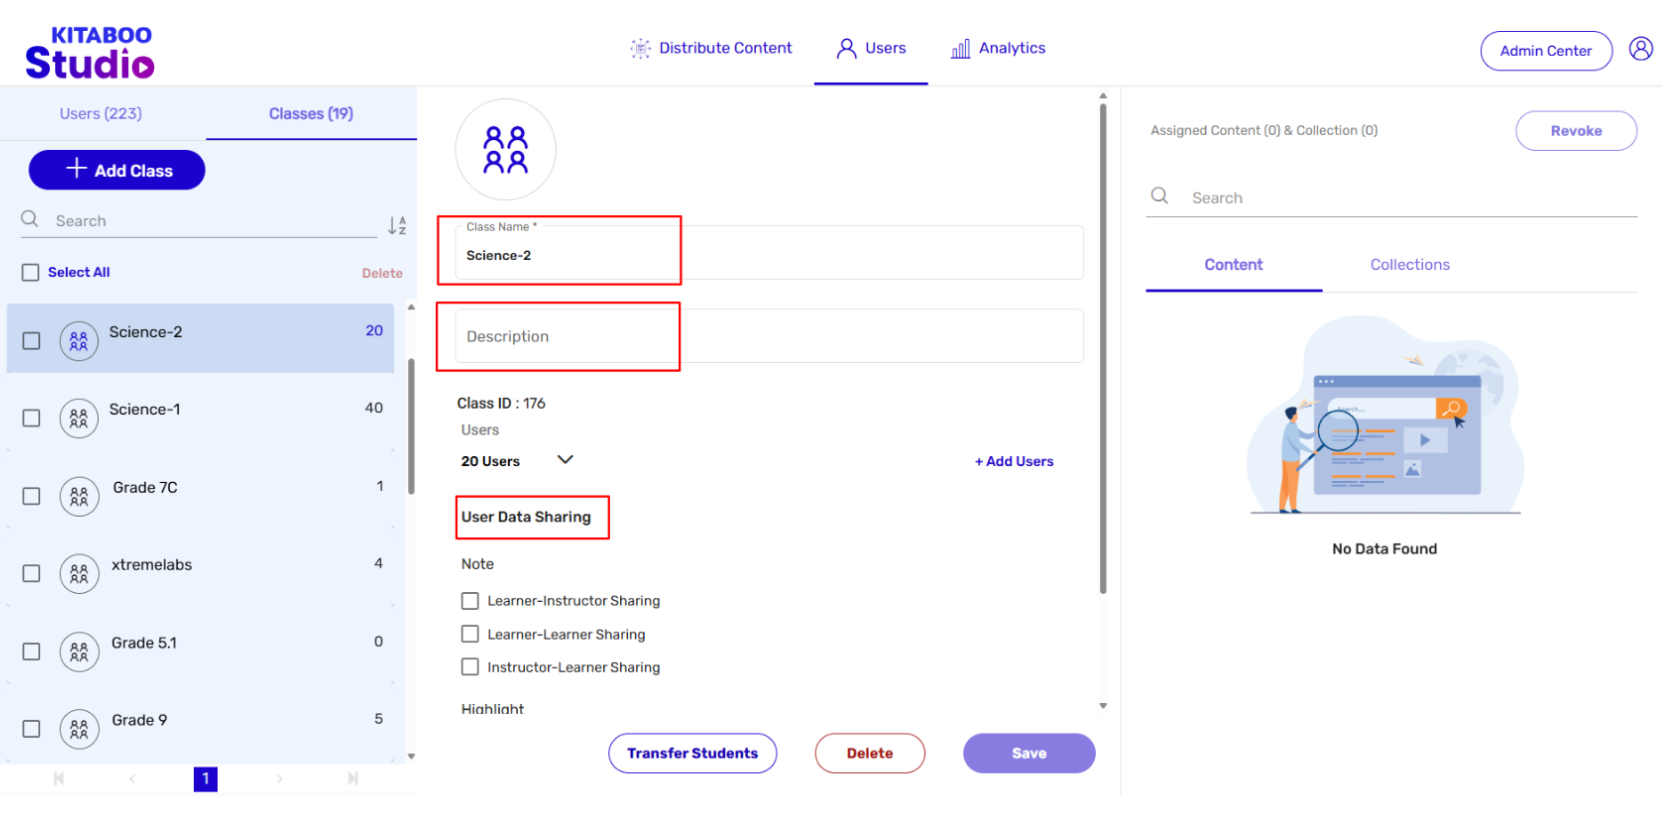
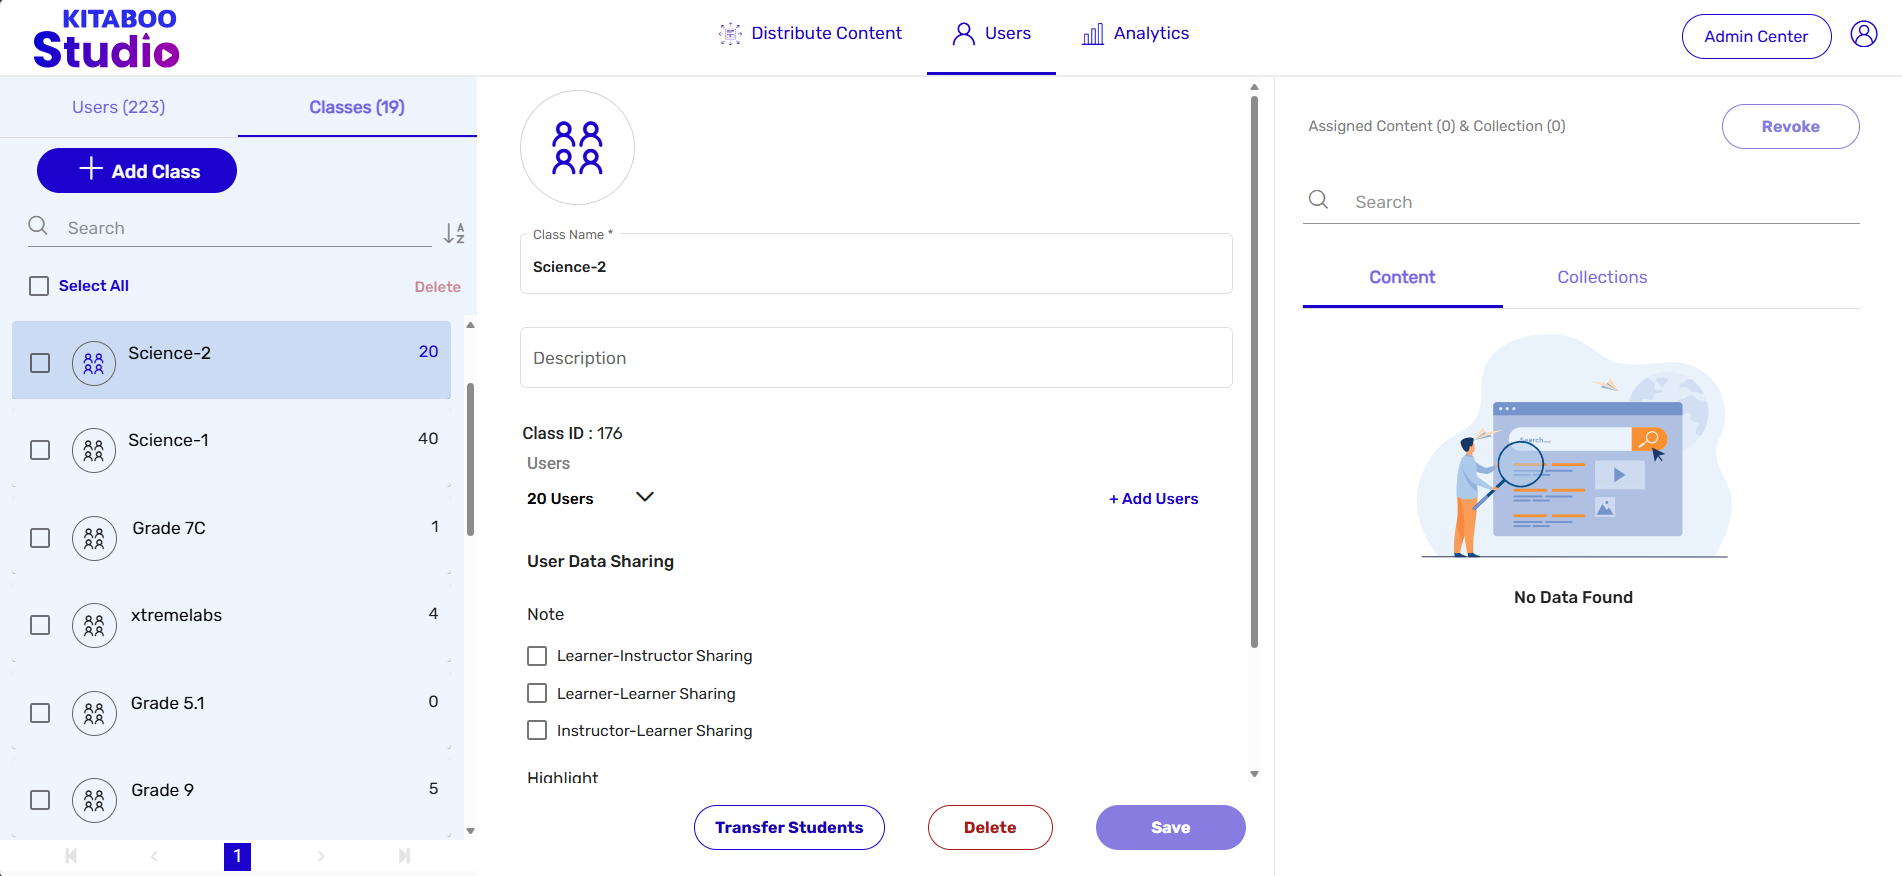
2. Editing a Class –
You have already created a class. You may, however, need to modify some of the information
related to the class. Kitaboo portal allows you to edit the required information.
- Sign in with your Customer Admin credentials
- Switch to the Users tab. > Click on Class on the Users tab.

- Select the class you want to edit. > Modify information in the desired field(s). > Click on Save.
NOTE: Information in the highlighted field has been edited in this example.
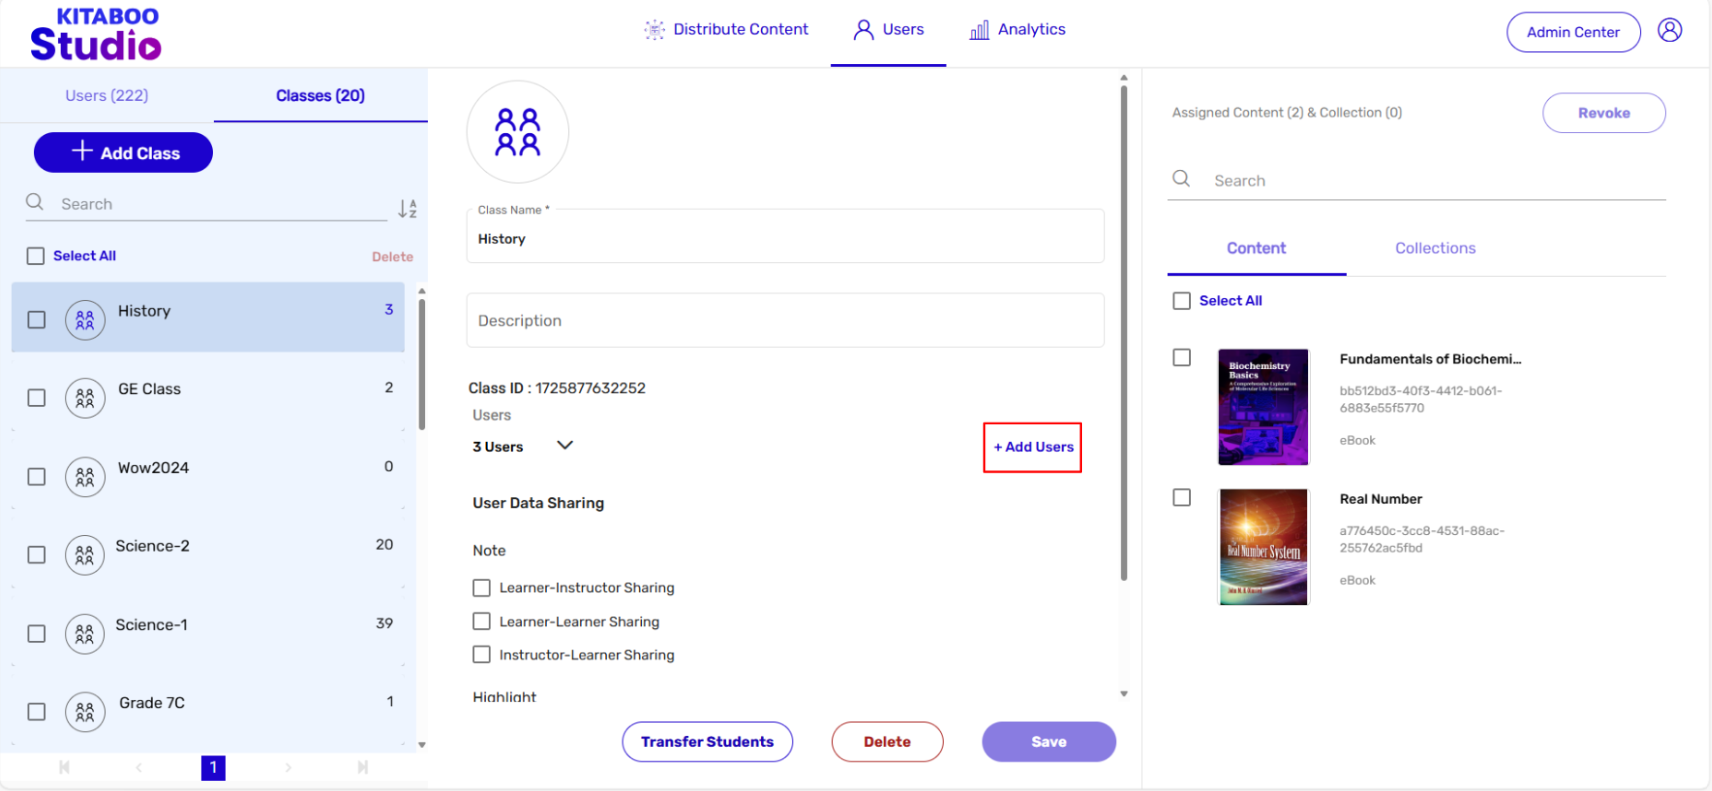
3. Adding a New User to an Existing Class
The Kitaboo portal also enables you to add a new user or more than one user to an existing class. You just need to follow a few steps for adding a new user.
- Sign in with your Customer Admin credentials.

- On the Users tab, click on Class.
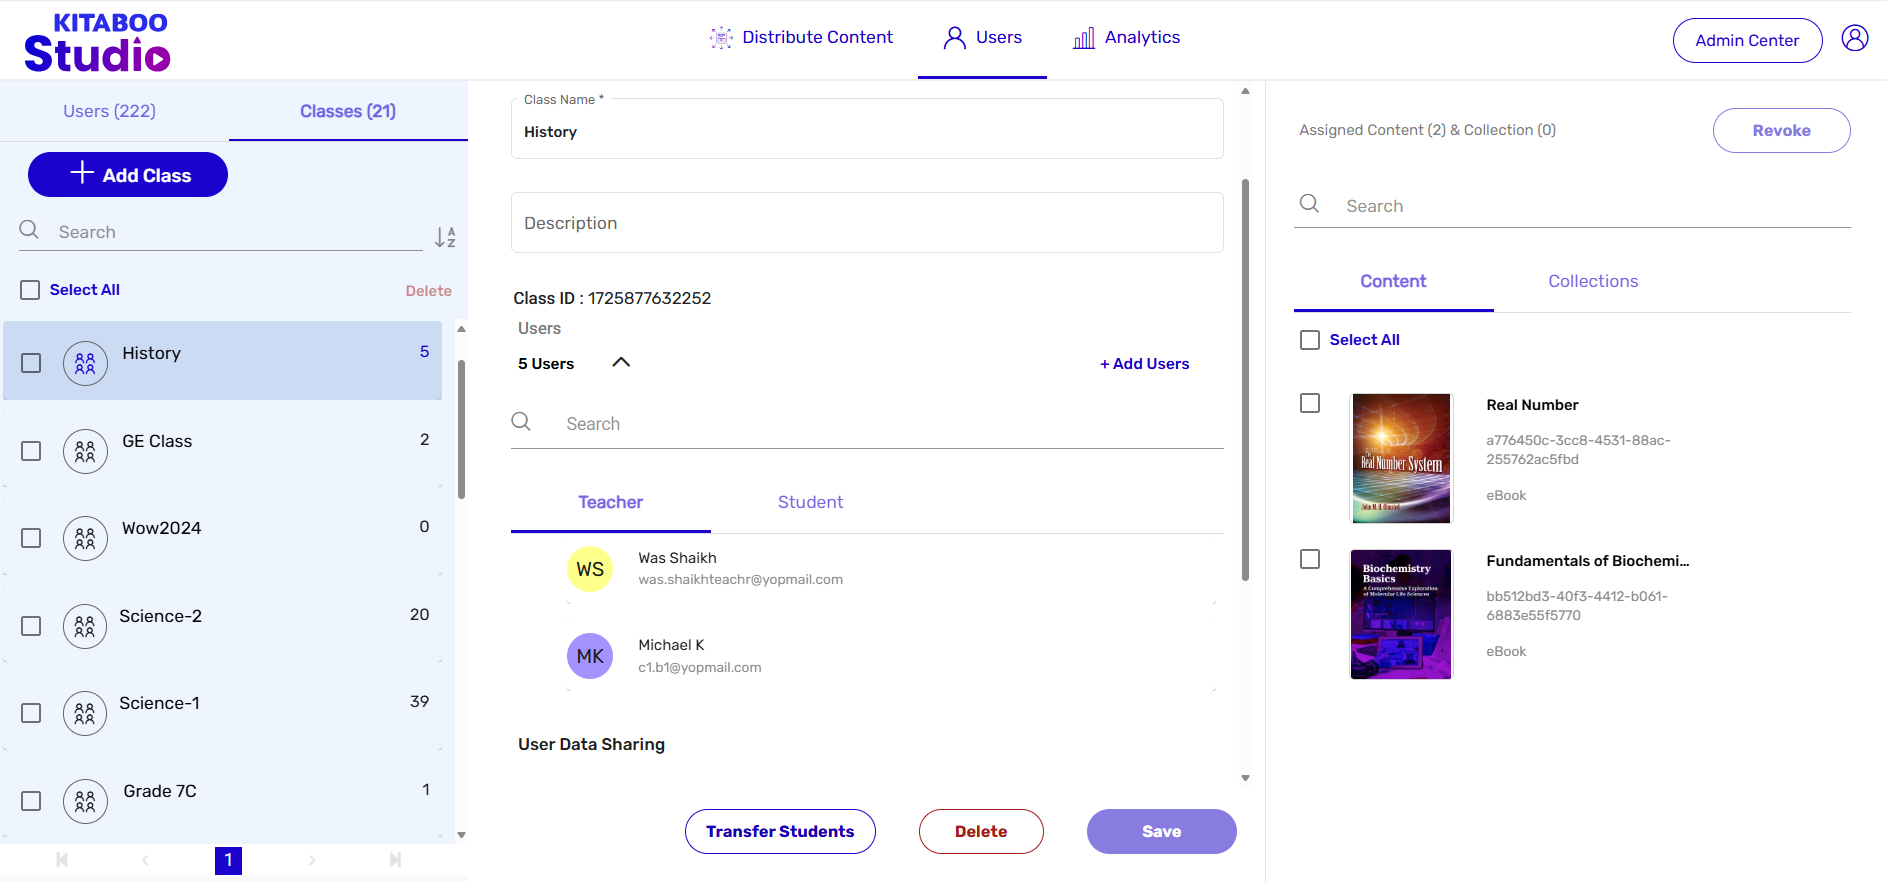
- Select the class you want to add user(s) to. > Click on the Add Users hyperlink.
- Select the user’s Role (Teacher or Student) you want to add. > Select the user’s name(s) Box from the list.
NOTE: The second user (Teacher) has been added in this example.
- Switch the user’s Role if required. > Select the user’s name(s) Checkbox from the list. > Click on Add.
NOTE: The third user (students) have been added in this example.
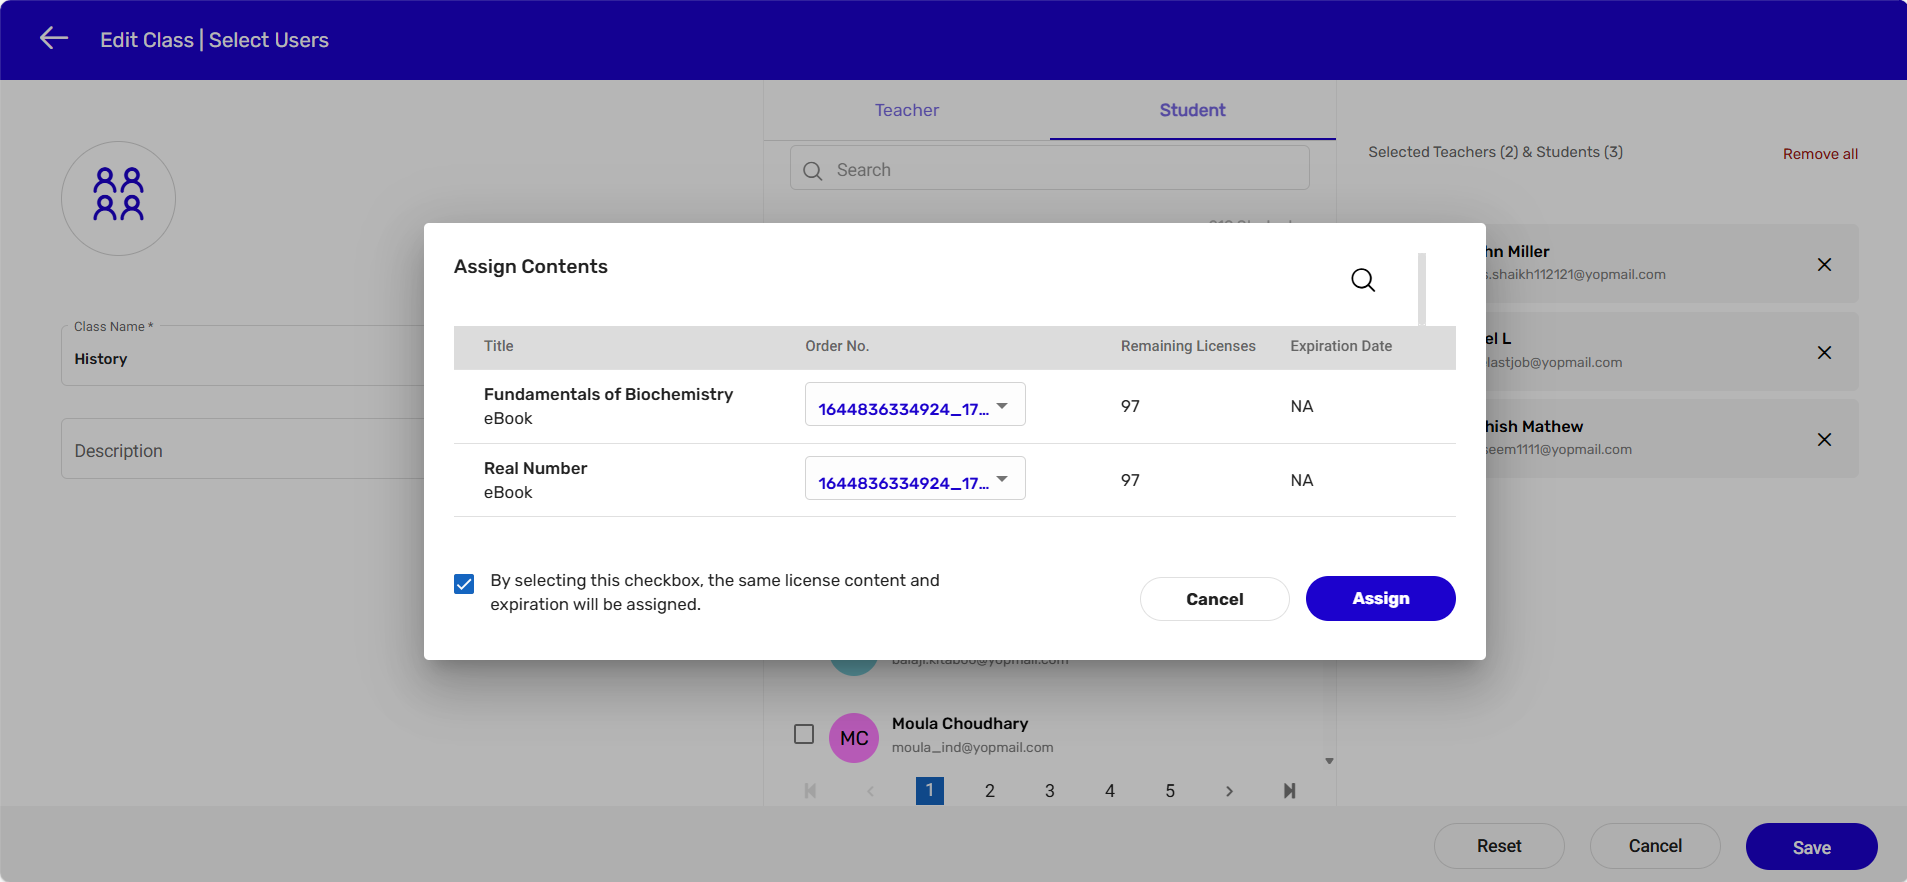
- In this example, there are three titles listed on the Assign Contents pop-up. You can manually select an order number from the drop-down menu against each title. > Click on the Assign button.
However, if the number of titles is too many, you can select the checkbox on the pop-up, and click on the Assign button.
NOTE: The system will automatically select a title with remaining licenses valid for a maximum expiry period.
Important:
● No new user can be added to an existing class if there is no content assigned to the class.
● No new user can be added to an existing class if the number of remaining licenses for the content assigned to the class is zero.
4. Removing a User from an Existing Class
The Kitaboo system also allows you to remove a user from an existing class. Let’s see how to
do it.
- Sign in with your Customer Admin credentials.

- On the Users tab, click on Class.

- Select the Class you want a user to remove from. > Click on Users.
- Click on the user type, Teacher/Student, you want to remove. > Roll the cursor over the user you want to remove. > Click on the Cross symbol that appears.
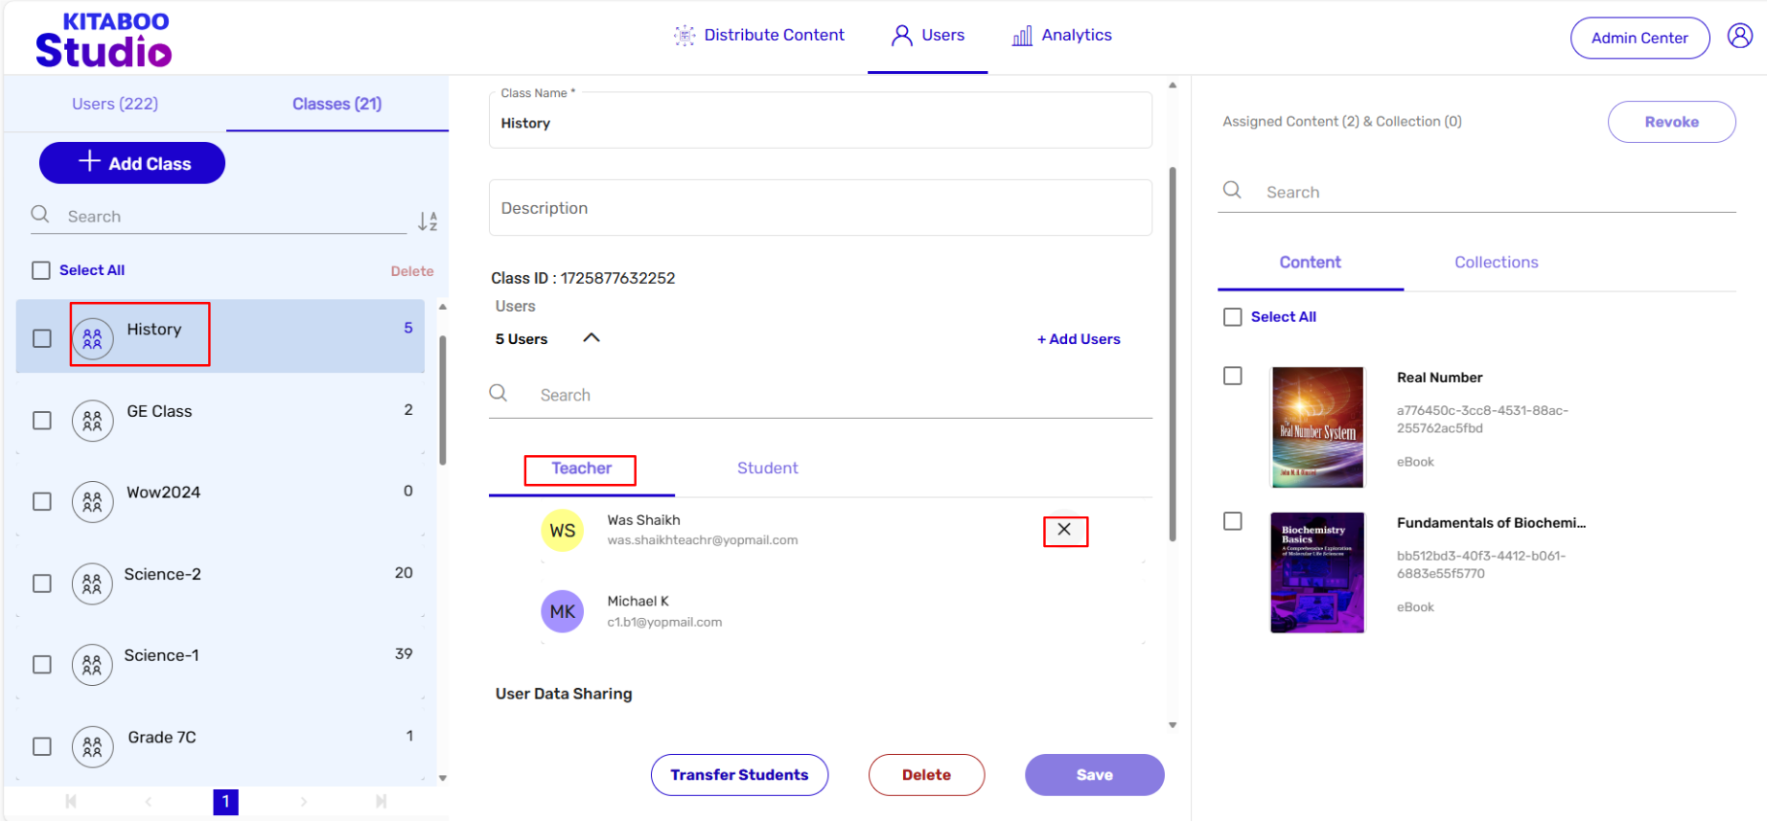
NOTE:
- The user type Teacher will appear enabled by default.
- In a similar way you can do it for students.