Popular

- Manage License (Add on)
- Bulk Revoke
- Generating Access Code
- Direct Distribution (Add On)
- Creating Single User or Multiple Users (Bulk Upload)
- Admin Center and Profile and Settings
- Revoking Content
- Distributing Content
- Signing in to Kitaboo
- Promote User/Transfer
- Create Class/Update Class
- Selective Oneroster Sync with API/ZIP/SFTP

- Customer Order Details -View Order
- License Management
- Analytics Dashboard and Reports Overview
- How Kitaboo Reader – Text-to-Speech (TTS) Works
- Activated User – Definition & Billing Policy
- What is Sequential Learning and How to Enable It? (Add On)
- Understanding User Roles: Producer vs. Admin
- How to Add External LTI Link (Add-On)
- Auto Book Deletion Process
- Adding group with SAML
- Syncing Data with Clever
- Selective Oneroster Sync with API/ZIP/SFTP
- Syncing Data with PowerSchool
- Syncing Data with OneRoster
- Adding a Group
- Searching a Customer
- Issuing Licenses
- Editing a Customer
- Deactivating a Customer
- Adding a Google Classroom Customer
- Adding a OneRoster Customer
- Adding One roster 1.2
- Adding a LTI 1.3 Customer with OneRoster
- Adding a LTI 1.3 Customer
- Adding an LTI 1.1 Customer with OneRoster
- Adding LTI 1.1 Customers
- Sorting Customer and Group
- Creating a Collection
- Enable K-AI at the content level
- Content Lifecycle Stages in Kitaboo for eBooks
- Creating a Fixed-layout Kitaboo eBooks
- Creating Fixed-layout ePub 3.0
- Upload 3rd Party ePub 2.0/3.0
- Creating a Course or Uploading Scorm
- Activity or Gradable Activity Creation
- Authoring an ePub
- Creating a Video Book
- Creating an Audio Book
- Updating the Cover Image
- Editing a Fixed eBook
- Deleting and Deactivating Content
- Users Tab
- How to Edit and Delete a Category
- Clever Integration
- Classlink Integration
- Canvas LTI Integration
- Admin Center
- Analytics Tab
- Adding a Customer
- Creating Admin Accounts
1. Adding Single User –
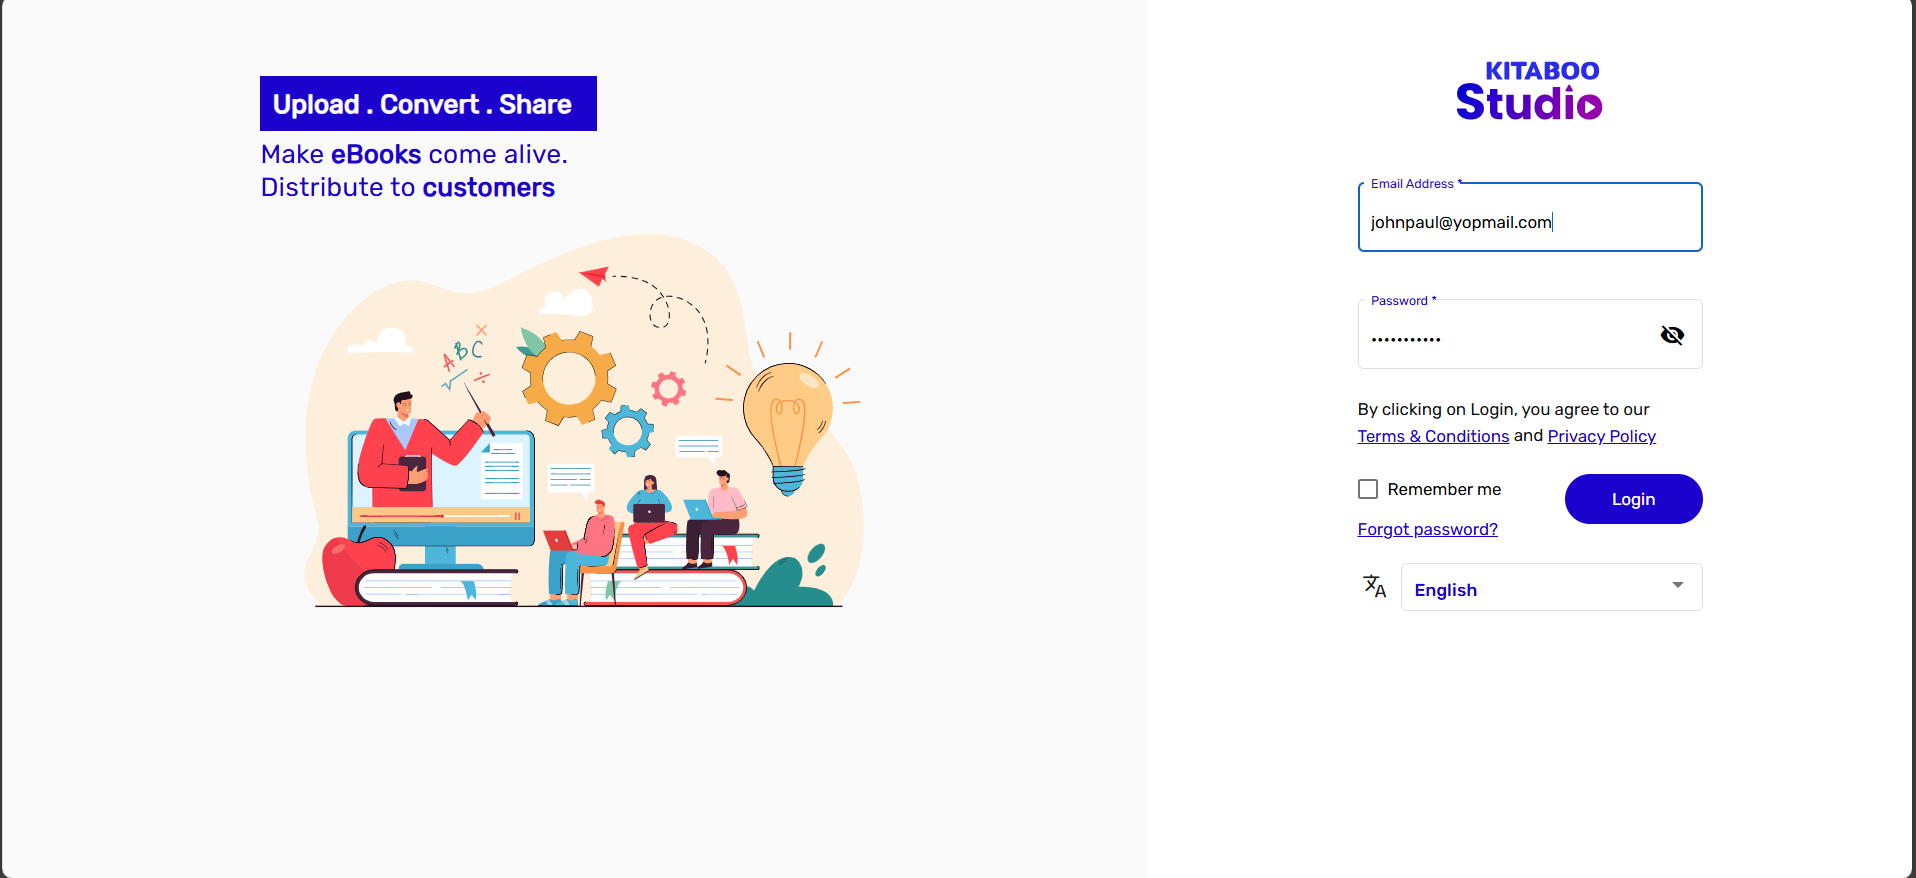
- Navigate to the Kitaboo Studio Reader login page. > Enter your Customer Admin credentials
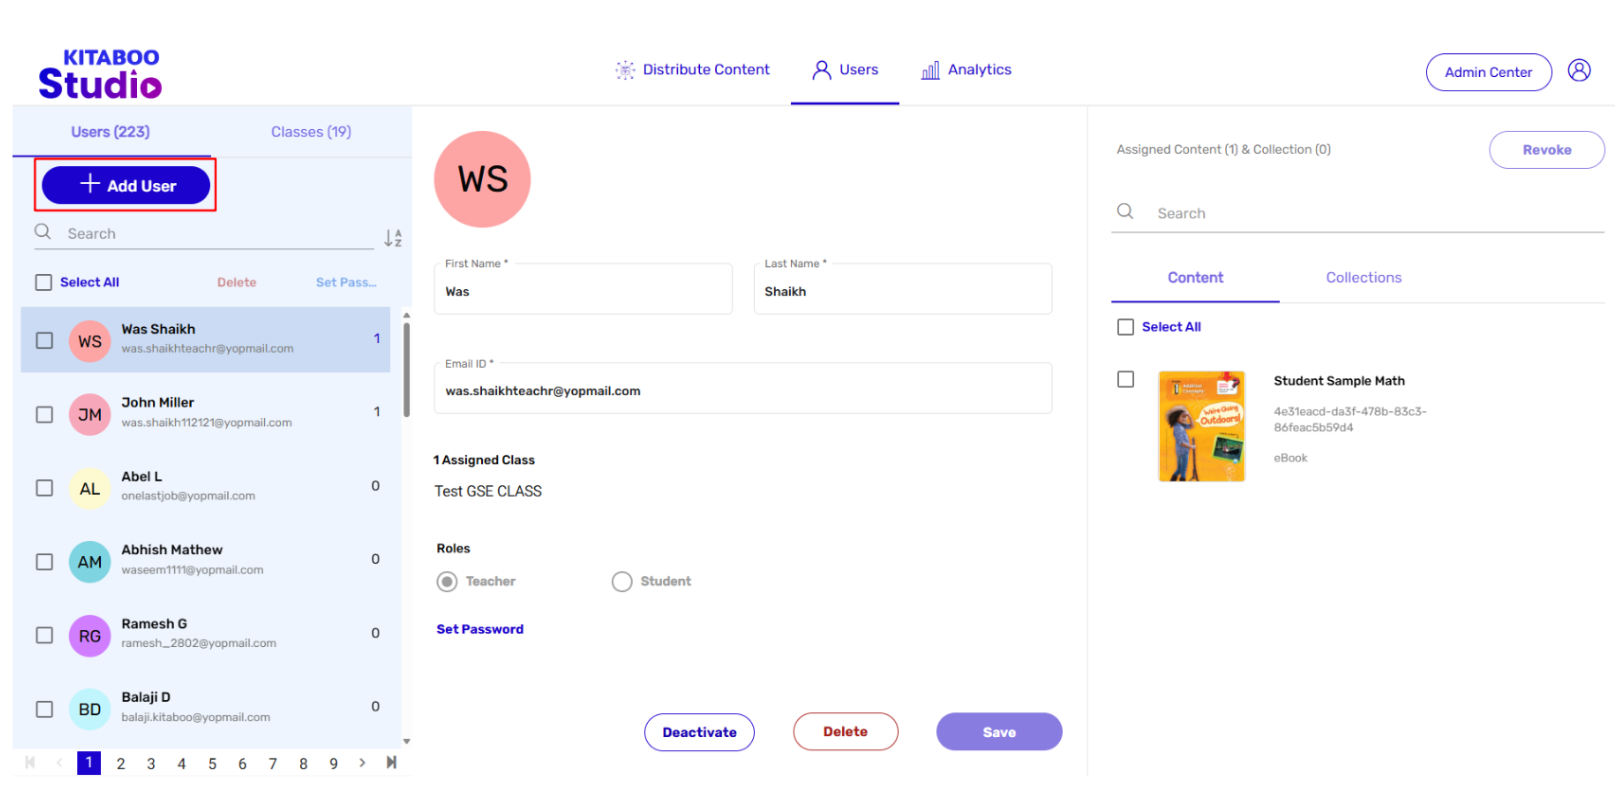
- Switch to the Users tab. > Click on Add User.
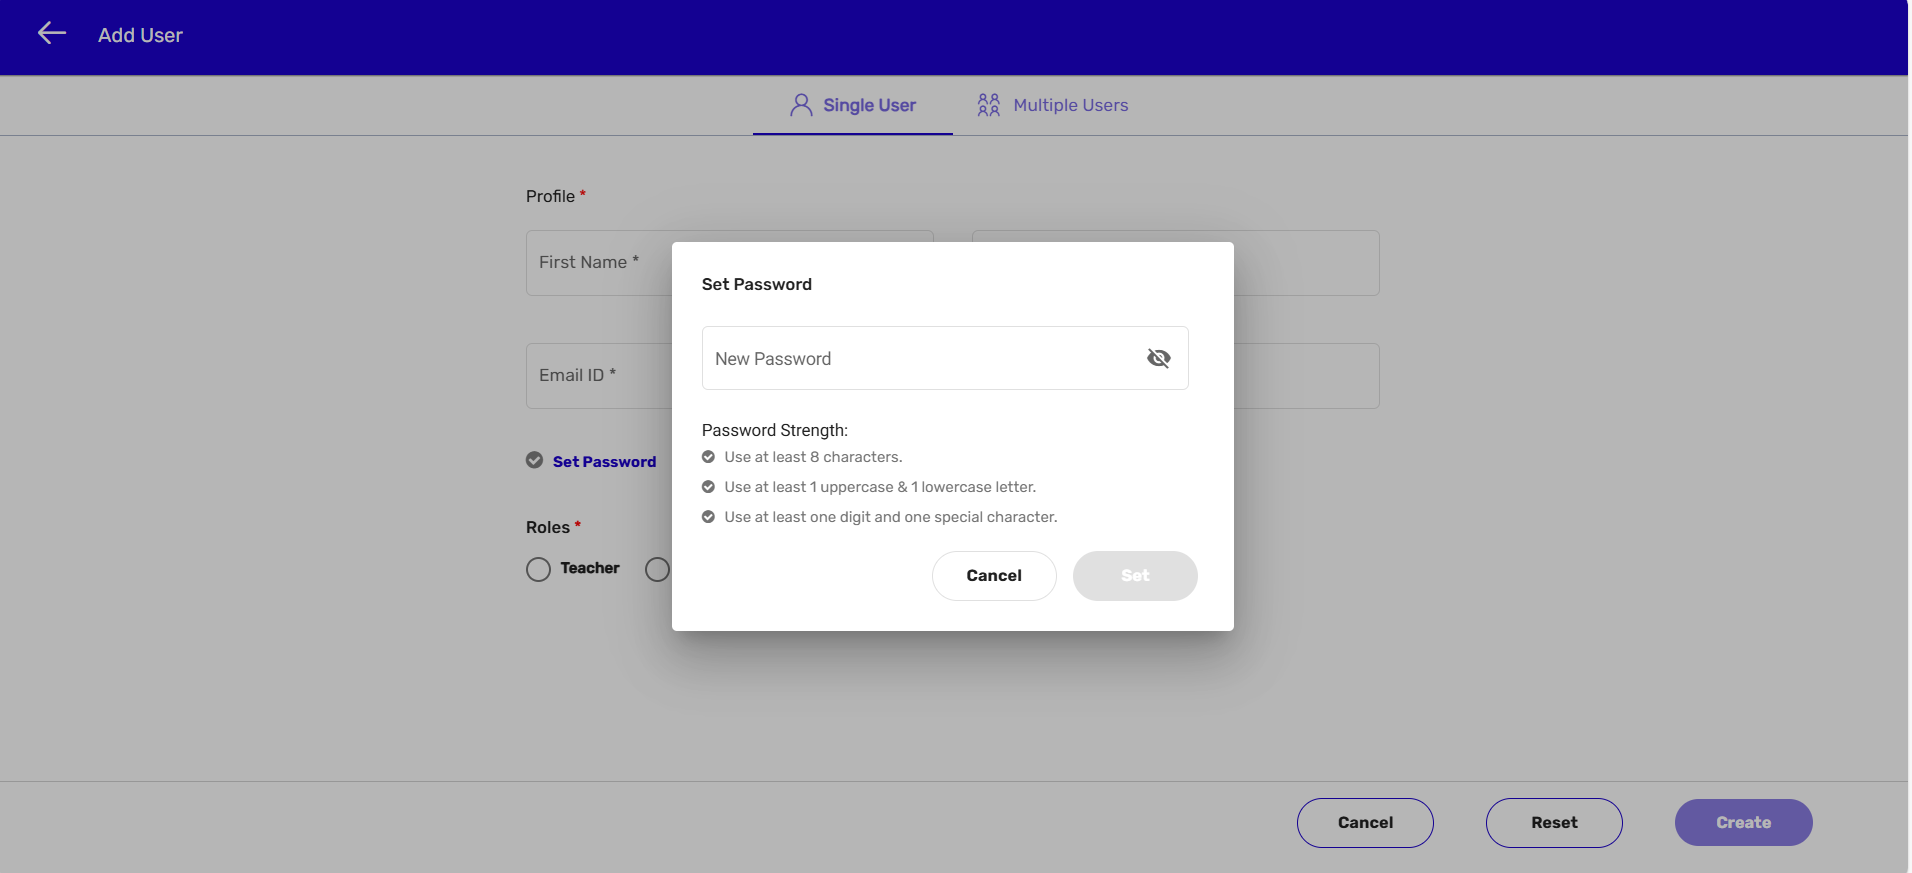
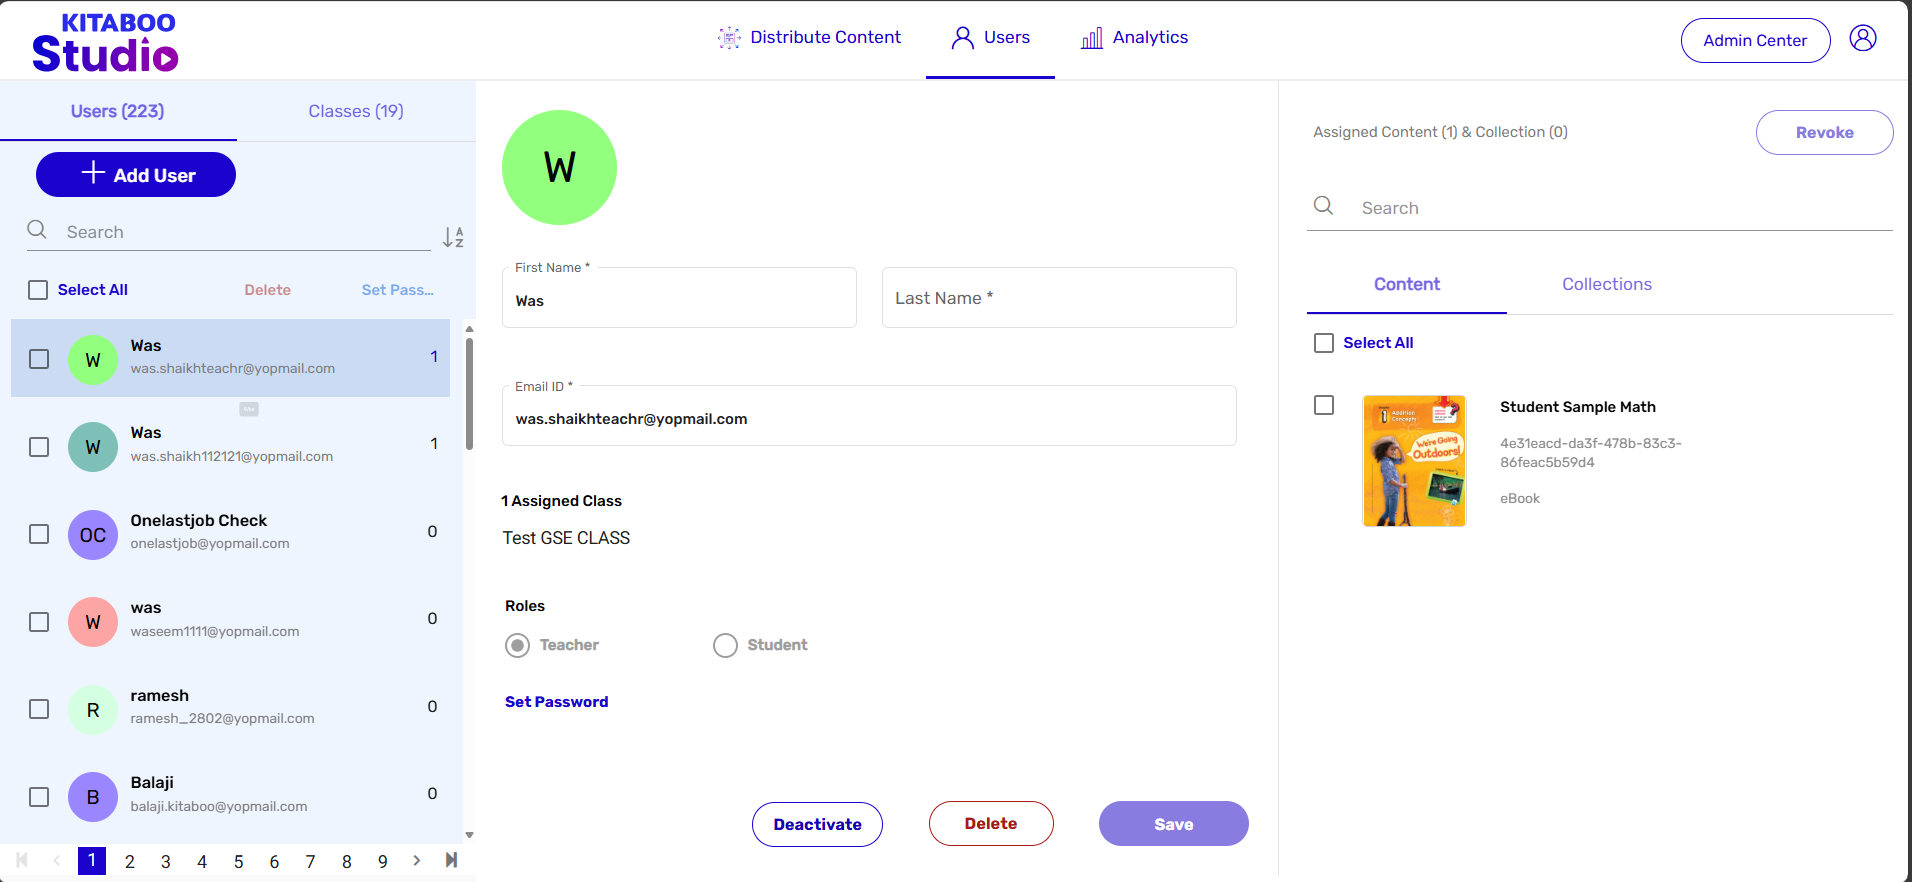
- Enter the User’s profile details > Define Role (Teacher or Student) > Click on Create. > Click on the Set Password link.
NOTE: Multiple users can also be created in one go by using a sample sheet.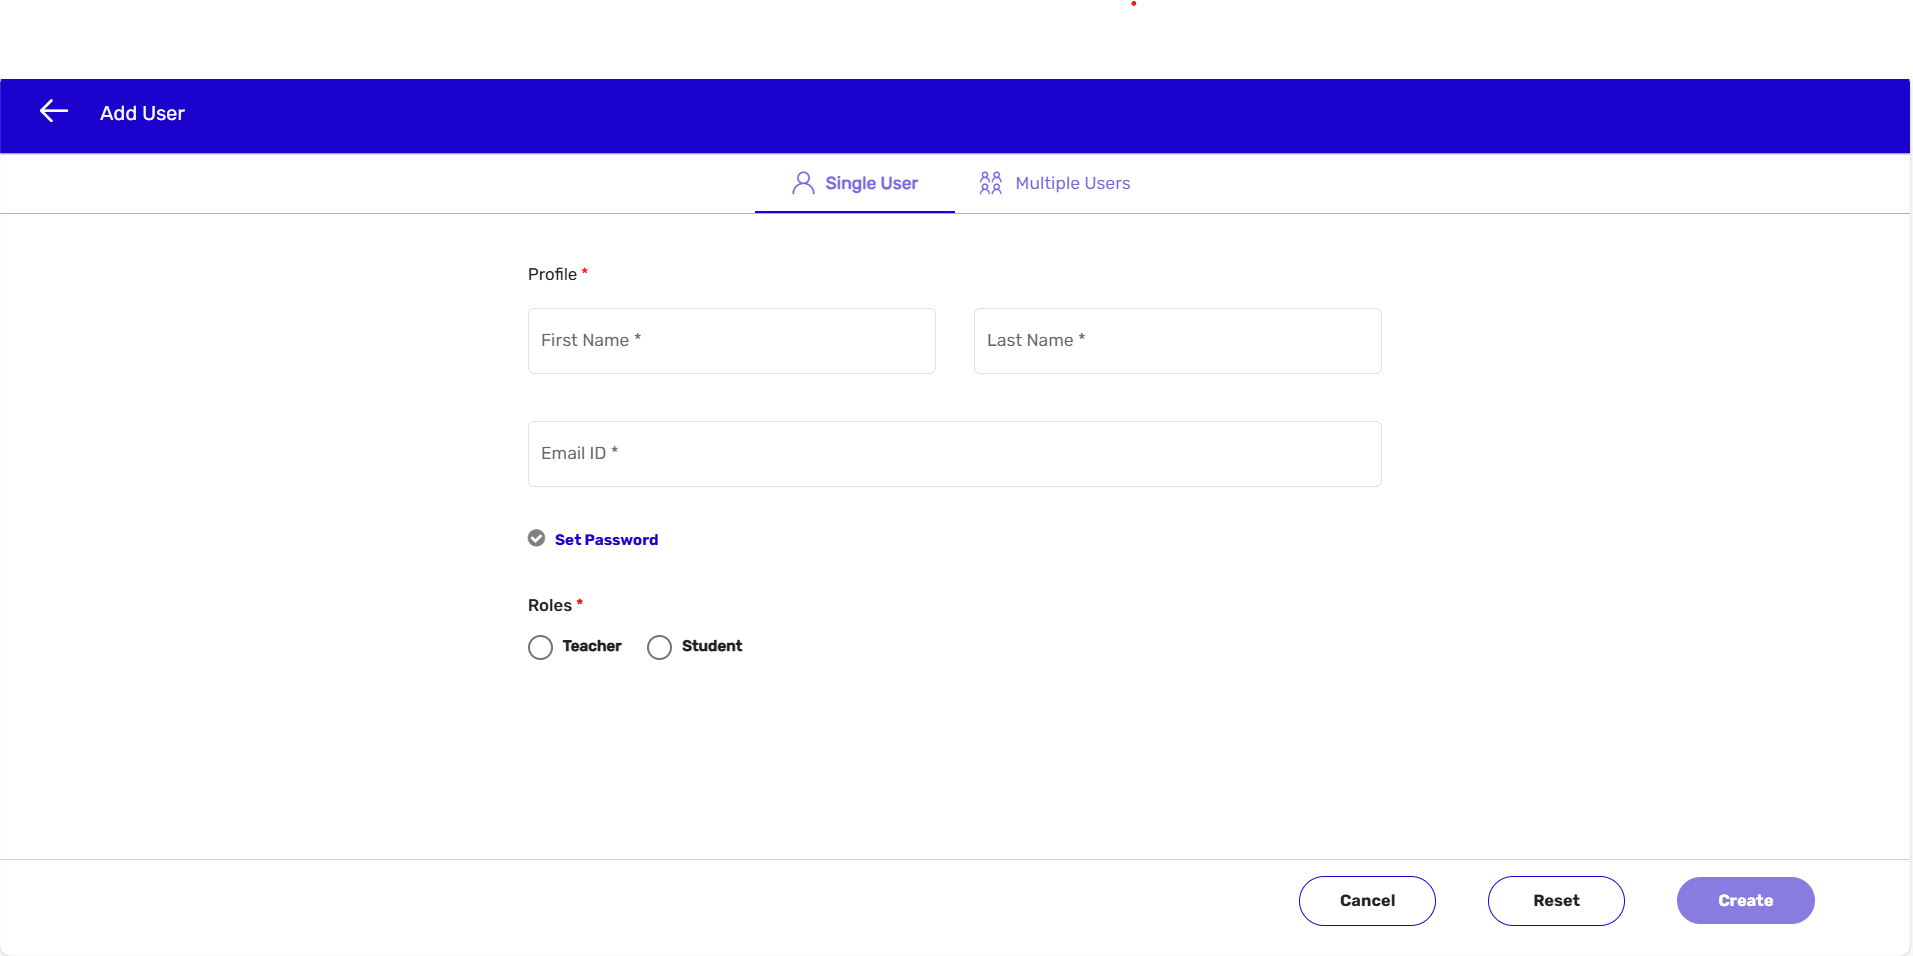
- On the Set Password pop-up, enter a new password as per the prescribed format for a password. > click on the Set button. > Click on Save.
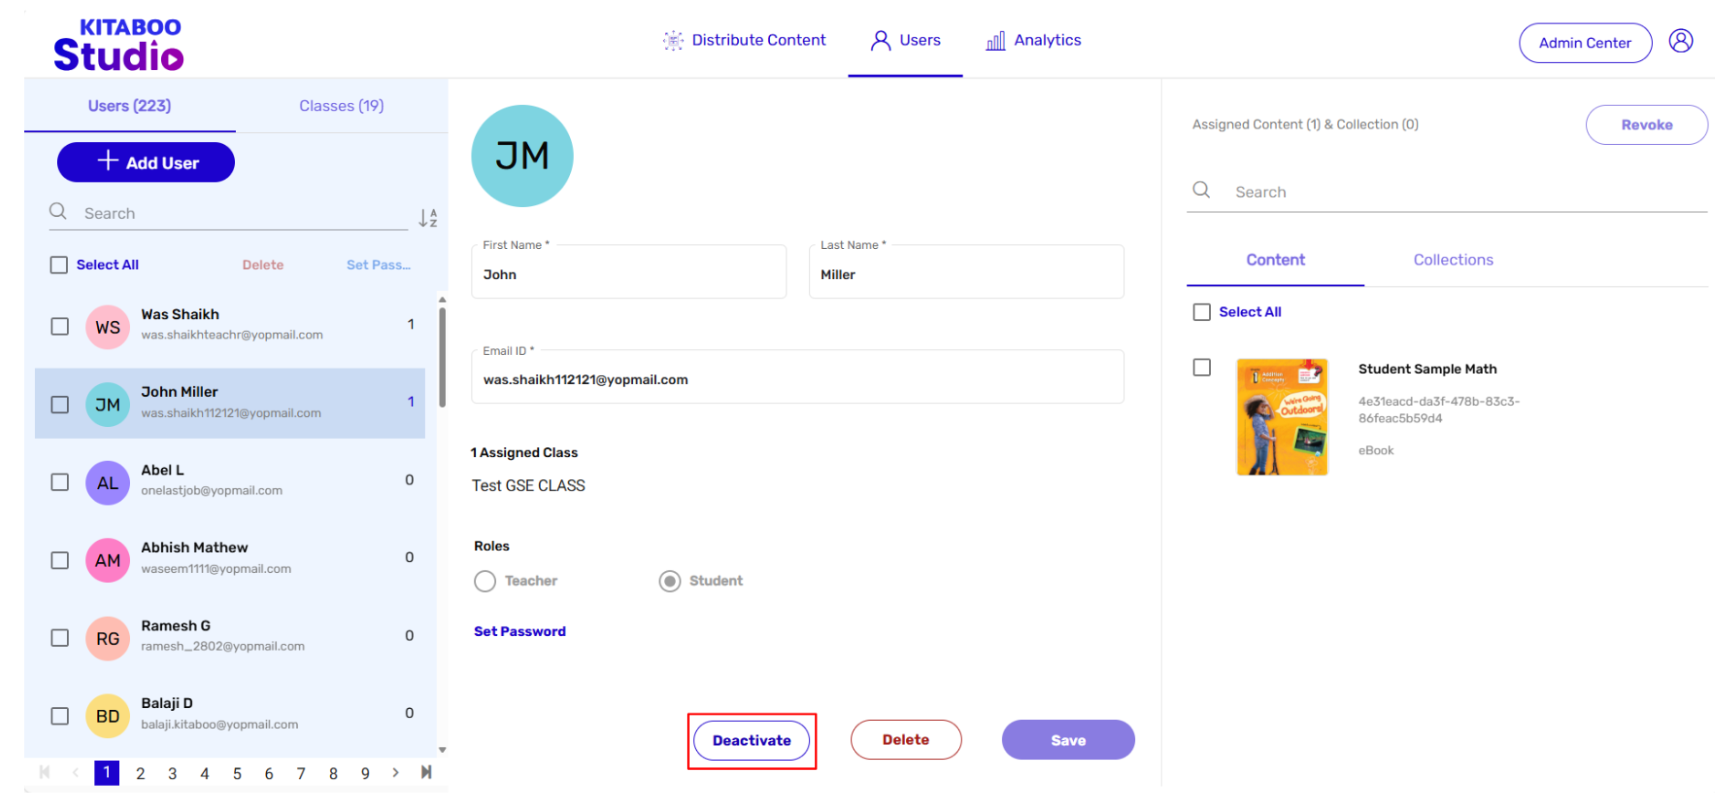
- You can also deactivate a user. For deactivating a user: Select the user, on the left pane, you want to deactivate. > Click on the Deactivate button.
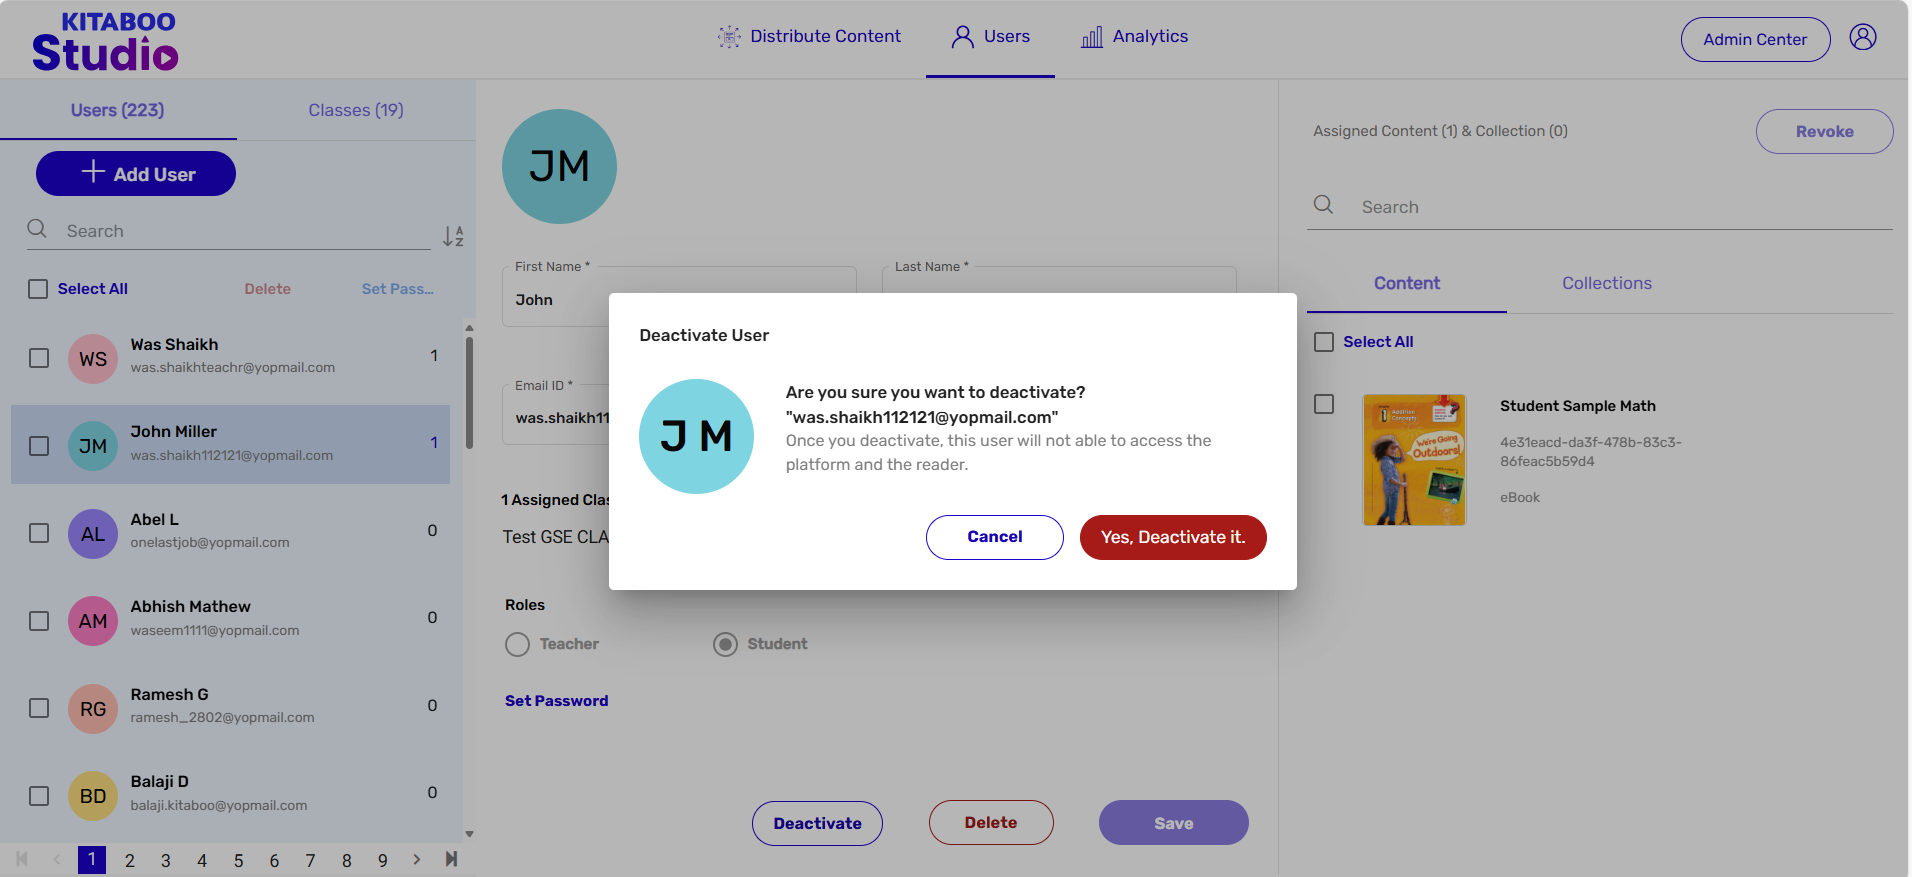
- Click on Yes, Deactivate it on the pop-up. Once confirmed for deactivation, the deactivated user will NOT be able to access the reader.
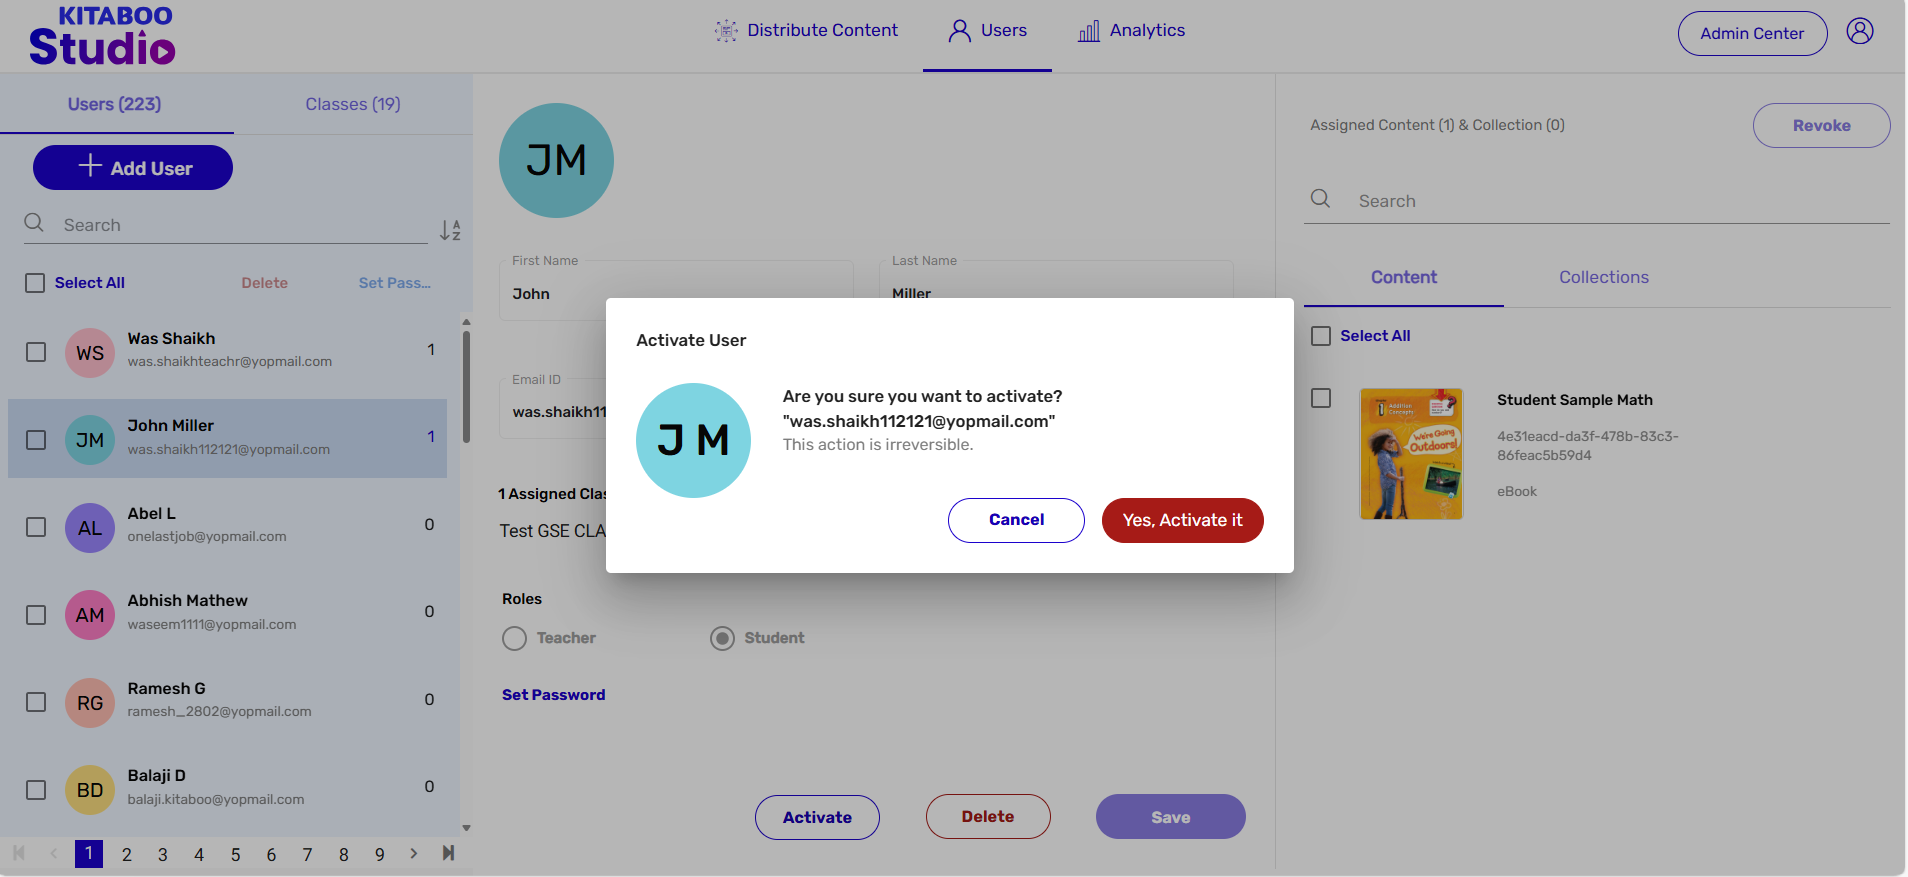
- You can also reactivate a deactivated user. For this: Select the user you want to reactivate. > Click on Activate.
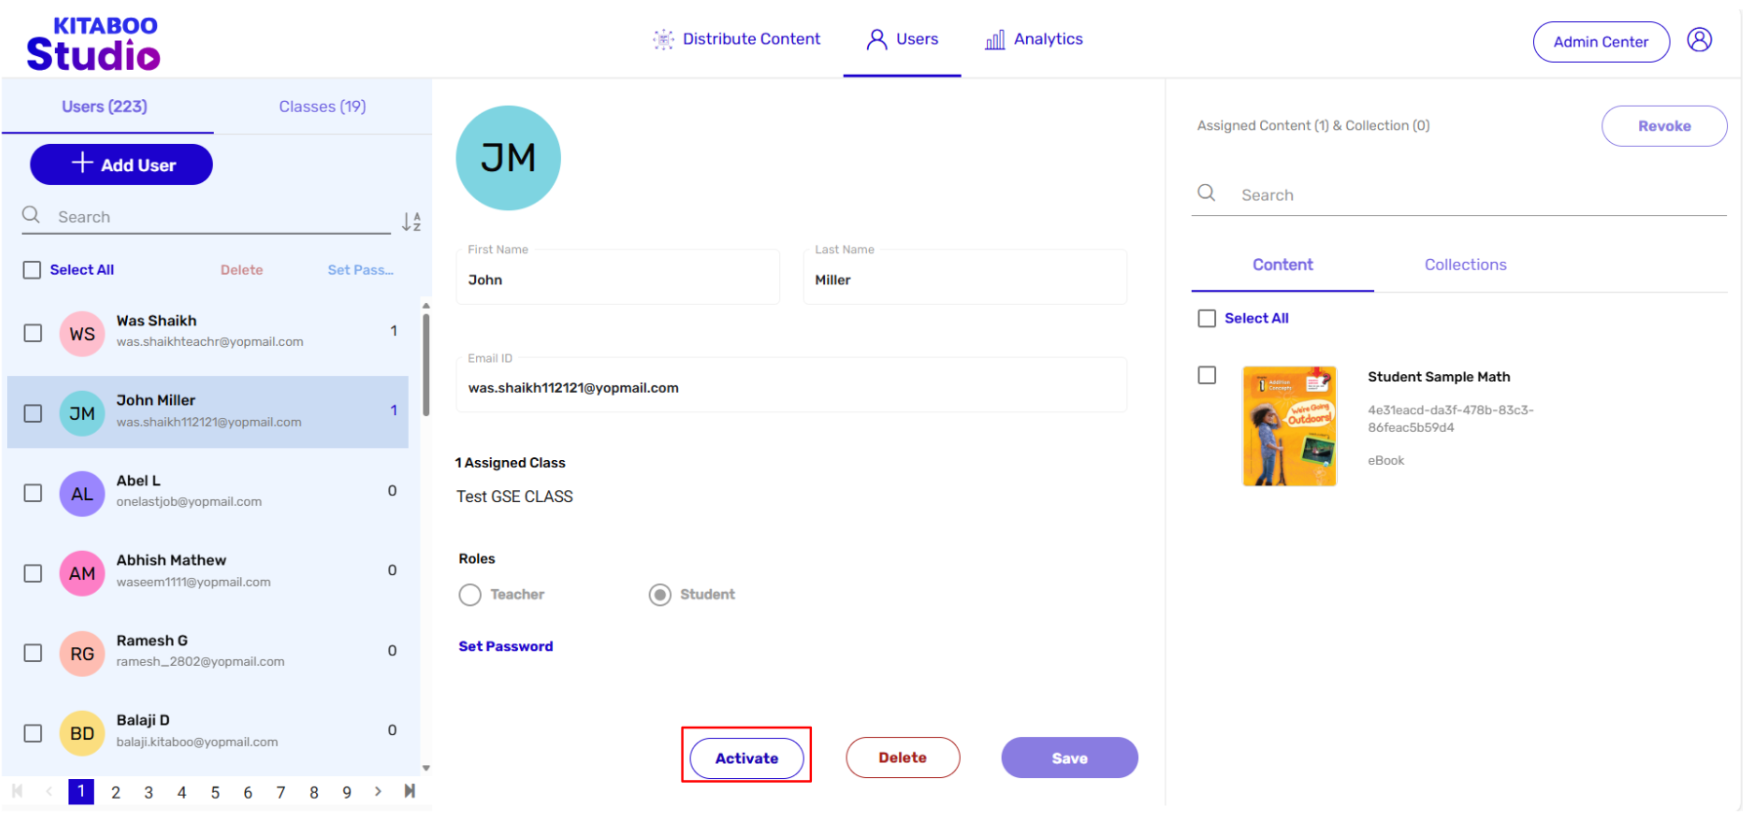
- Click on Yes, Activate it to confirm
2. Creating Bulk Users via Bulk Upload sheet
Kitaboo Studio also enables you to create bulk users for a class. Let’s see how to do it.
- Sign in with your Customer/Partner Admin credentials.

- Switch to the User tab. > Click on the + Add User button.
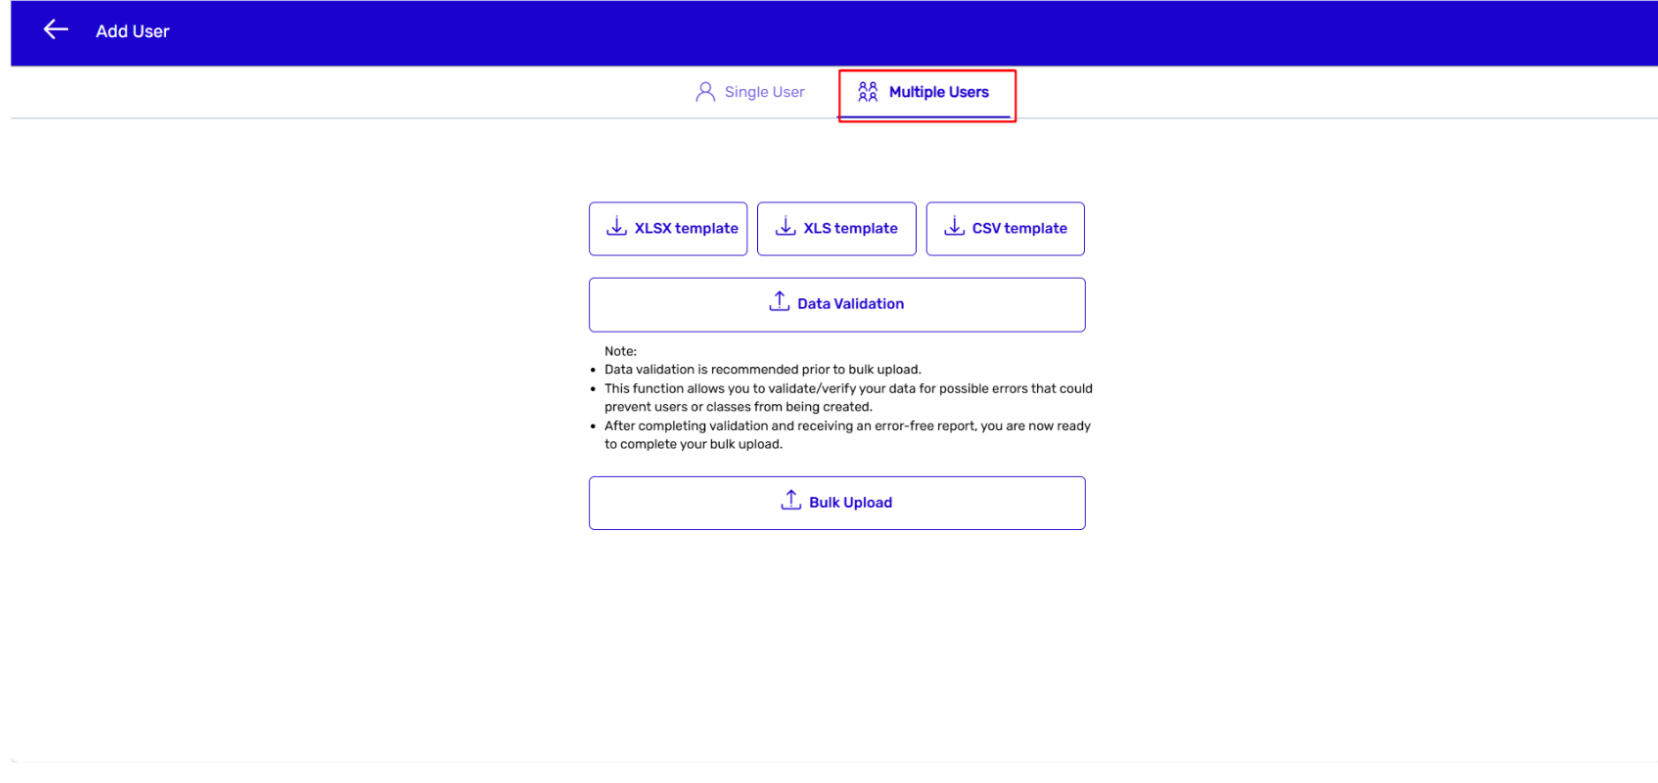
- On the Multiple Users tab, click on the Download Sample link. > Save the Excel sheet on your local machine. You need to enter the users’ details as per the format in the sheet.
Note:
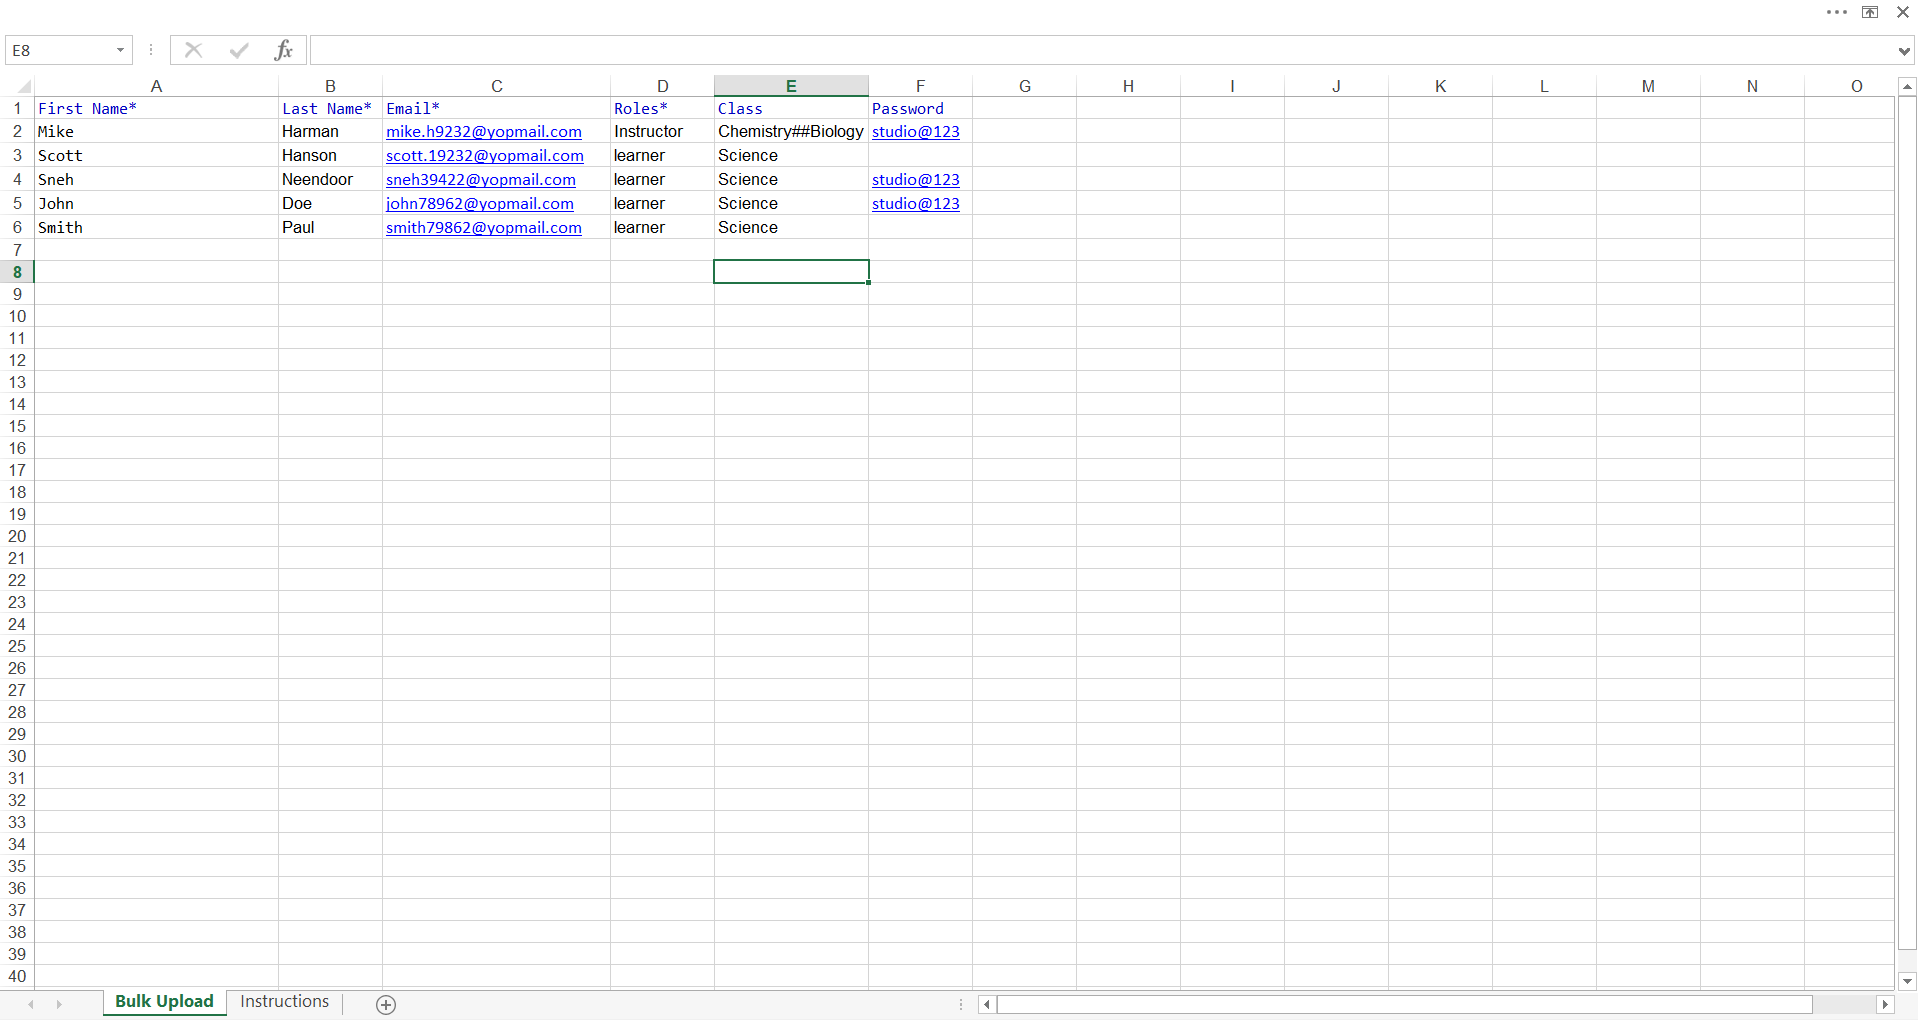
There are two tabs on the sample Excel sheet (download the sample file) – Bulk Upload and Instructions. You need to enter the details of the users on the Bulk Upload page. It is advisable to read through the instructions on the Instructions page before adding the users’ details. A recap of the
There are two tabs on the sample Excel sheet (download the sample file) – Bulk Upload and Instructions. You need to enter the details of the users on the Bulk Upload page. It is advisable to read through the instructions on the Instructions page before adding the users’ details. A recap of the
instructions is given below.
I) Special characters should not be used in contact numbers, city names, ZIP codes, and country names.
II) Username is a mandatory field. If you leave it blank, the system will create a username based on the given email ID. For example, for the email ID john.ked@gmail.com, the system will be creating a username as john.ked@gmail.com.
III) There are two options for the Roles field – Learner or Instructor. You can select either of the two.
IV) You must ensure that all the mandatory fields are filled in before uploading the Bulk Upload Excel sheet.
V) You should refer to the Bulk Upload sheet for example, clarification, or reference.
VI) You should not edit the column header and order on the Bulk Upload sheet.
IV) You must ensure that all the mandatory fields are filled in before uploading the Bulk Upload Excel sheet.
V) You should refer to the Bulk Upload sheet for example, clarification, or reference.
VI) You should not edit the column header and order on the Bulk Upload sheet.
- Enter the new users’ details in the respective columns as per the format only. > Save the changes you have made.
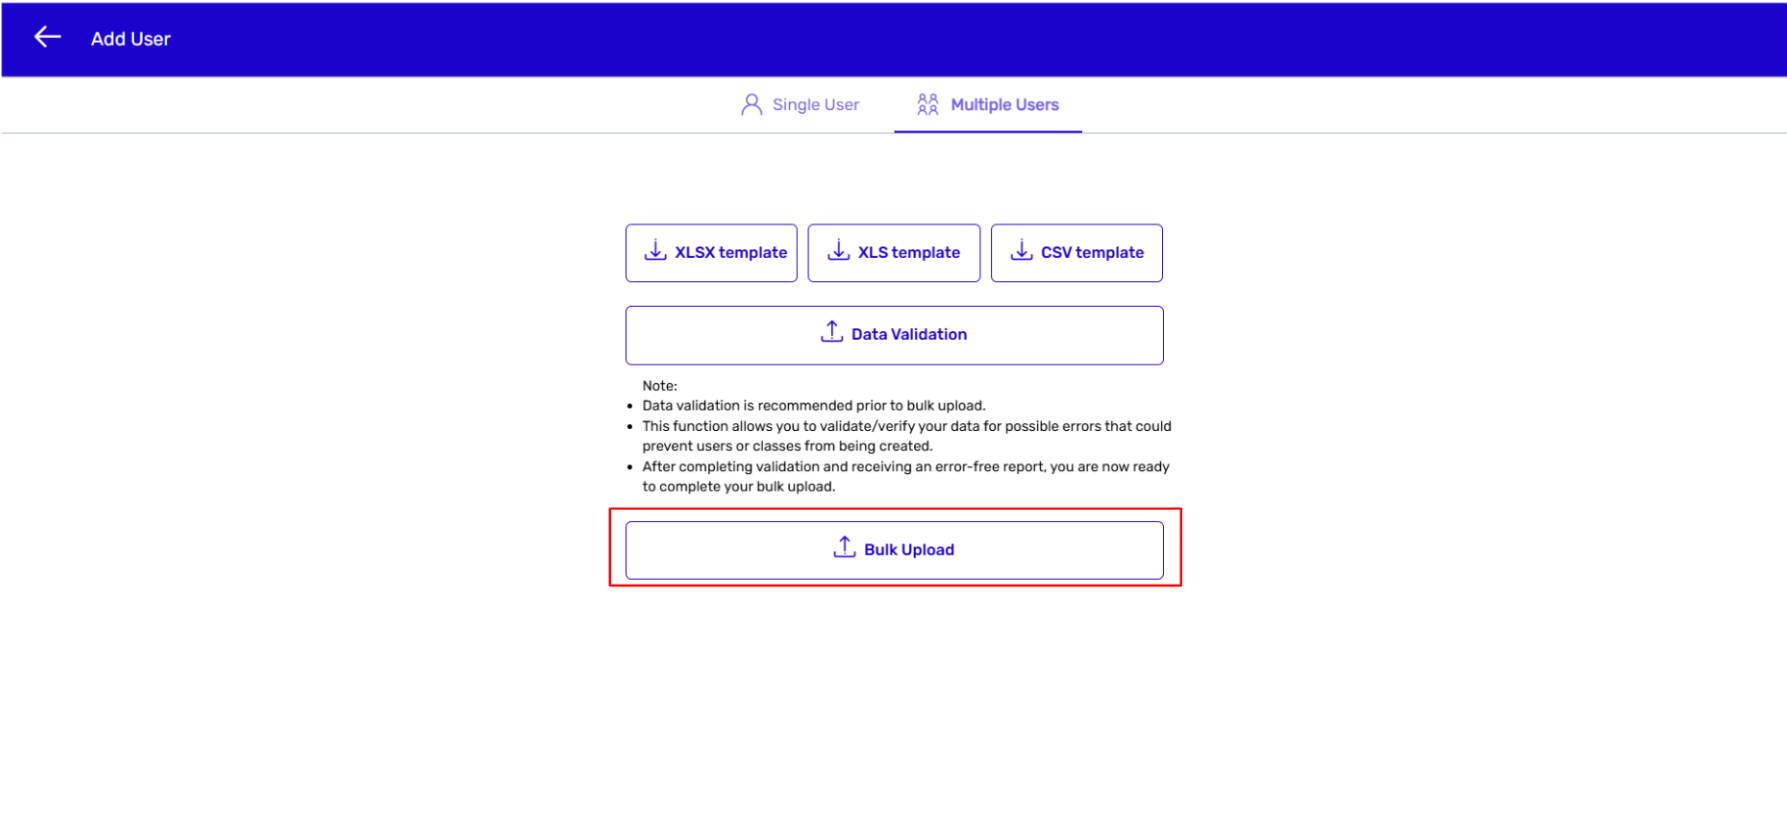
- Click on Data Validation on the Multiple Users page. > Upload the updated Sample sheet.

Note: Data validation is recommended before bulk upload. This function allows you to validate/verify your data for possible errors that could prevent users or classes from being created. After completing validation and receiving an error-free report, you are now ready to complete your bulk upload.
- Click on Upload Sheet on the Multiple Users page. > Upload the updated Bulk Upload sheet.
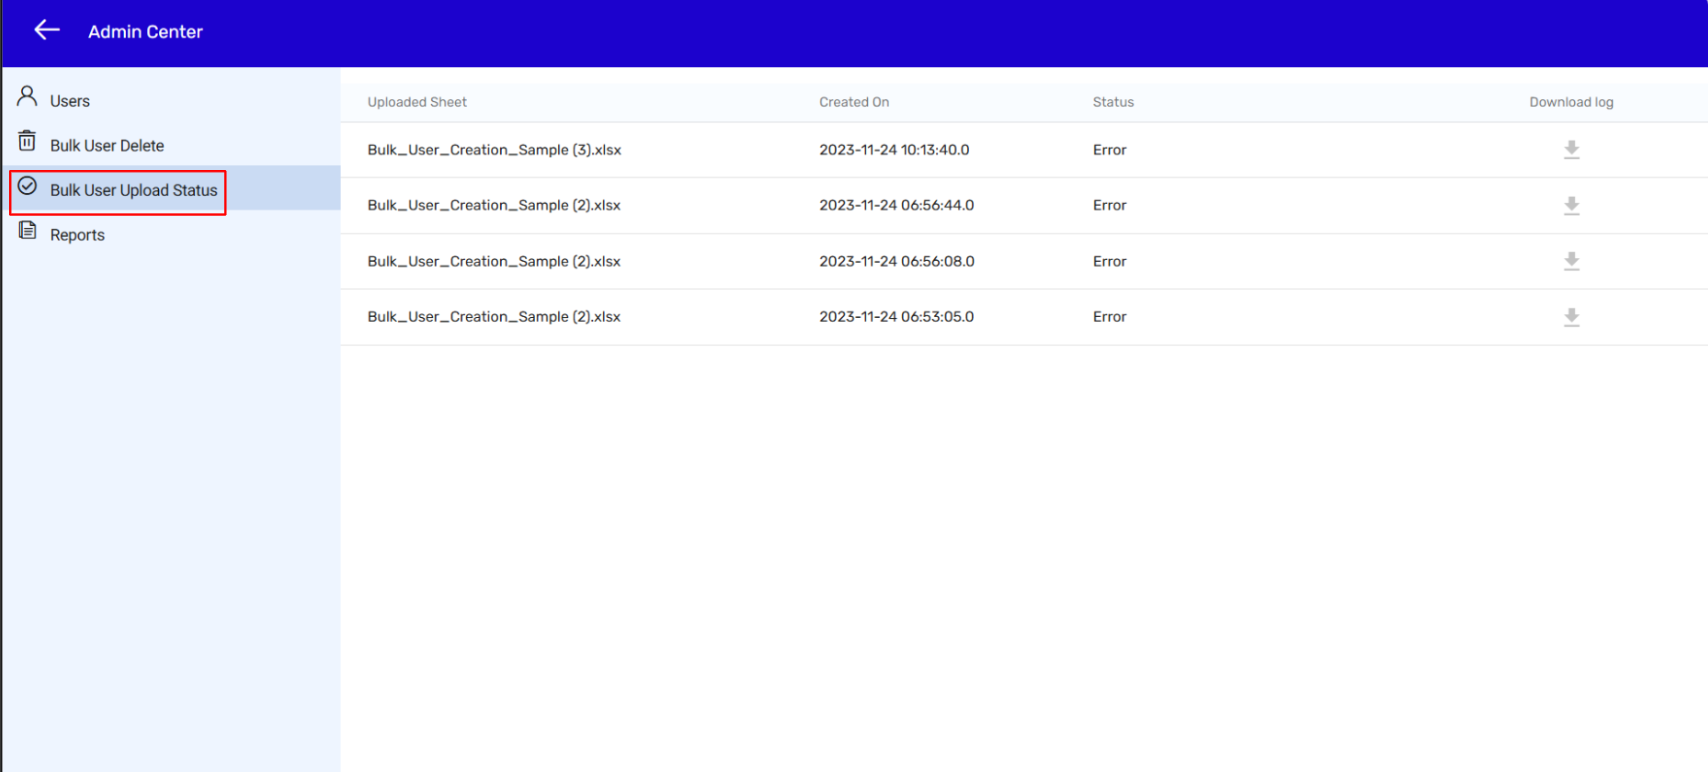
- You will be getting a confirmation message for a successful file upload. You can also download the updated sheet by clicking on Admin Center > Bulk User Upload Status,